
In this guide, you'll learn how to add a new activity type in Clubplanner.
Activity types help you organize classes, training sessions, or other club activities.
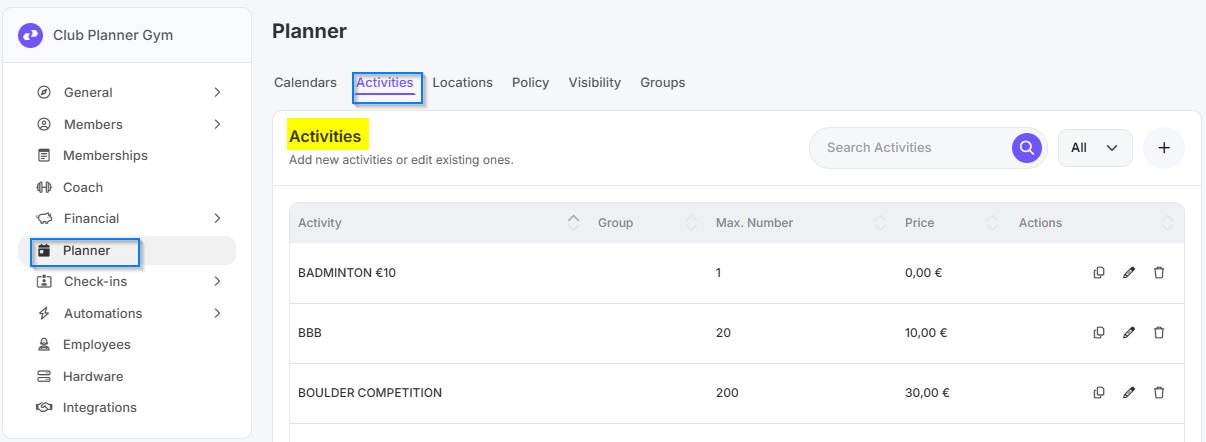
Step 1 – Go to “Settings” → “Planner” → “Activities”
- In the main menu, navigate to “Settings”.
- Then click “Planner” → “Activities” to manage existing activity types.
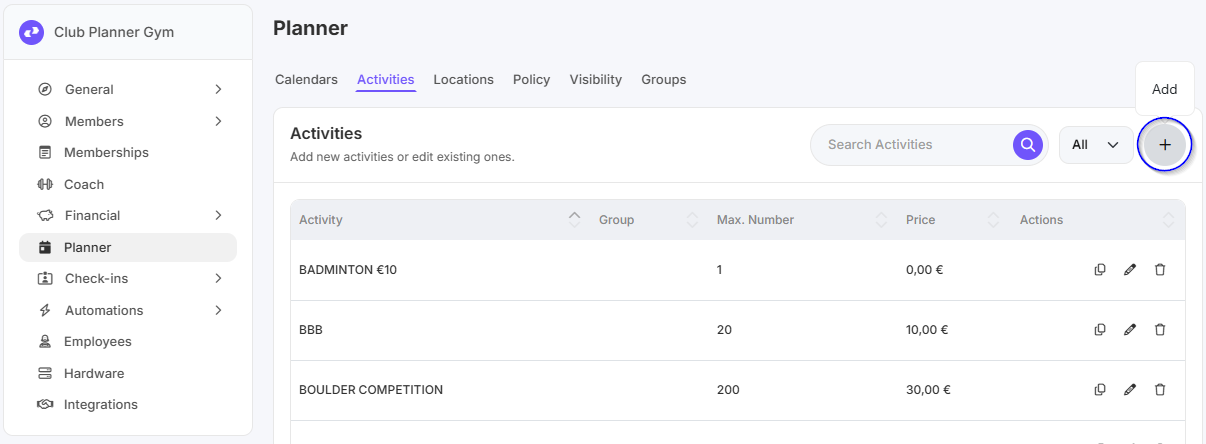
Step 2 – Click on “Add Activity Type”
- Click the “Add Activity Type” button to create a new type.
If you would like to use the booking wizard, you can find more information in this guide.
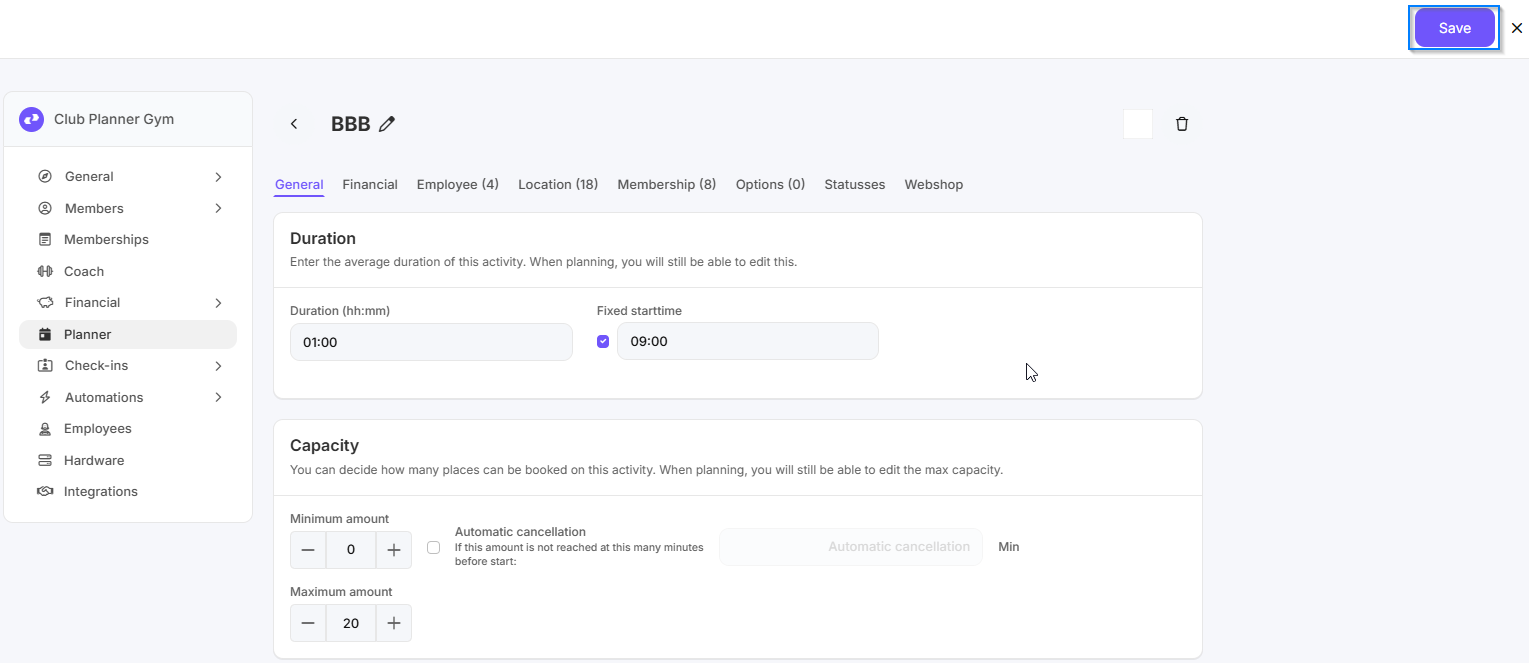
Step 3 – Enter all activity details
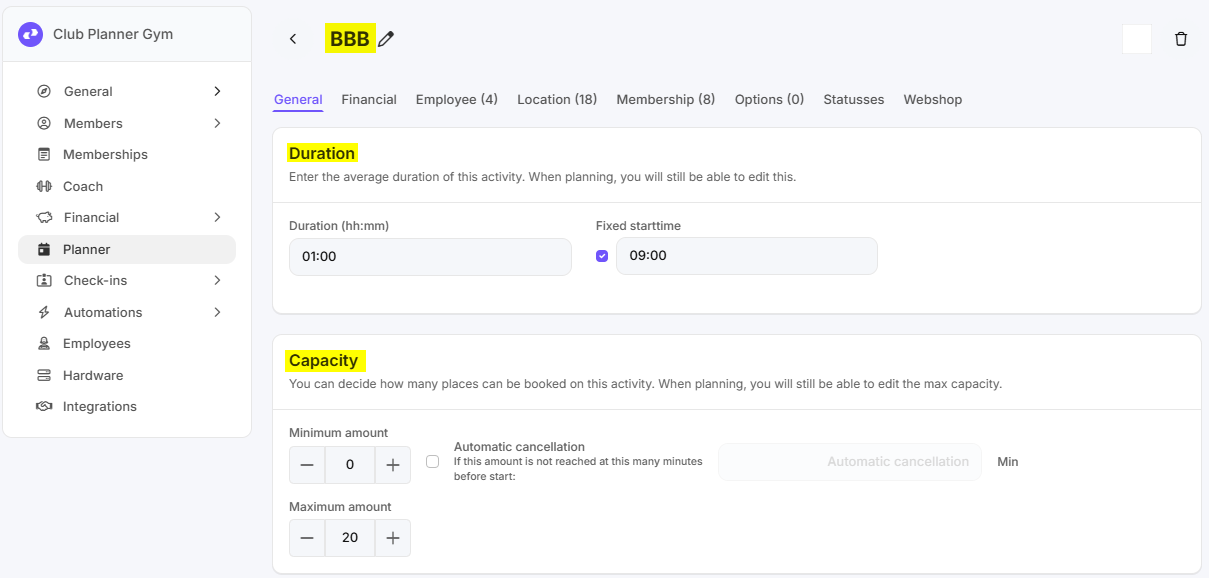
- Enter the following information in the General tab:
- Activity name (e.g., Yoga, Spinning, HIIT)
- Description (optional)
- Color code or icon (optional, helps provide a visual overview)
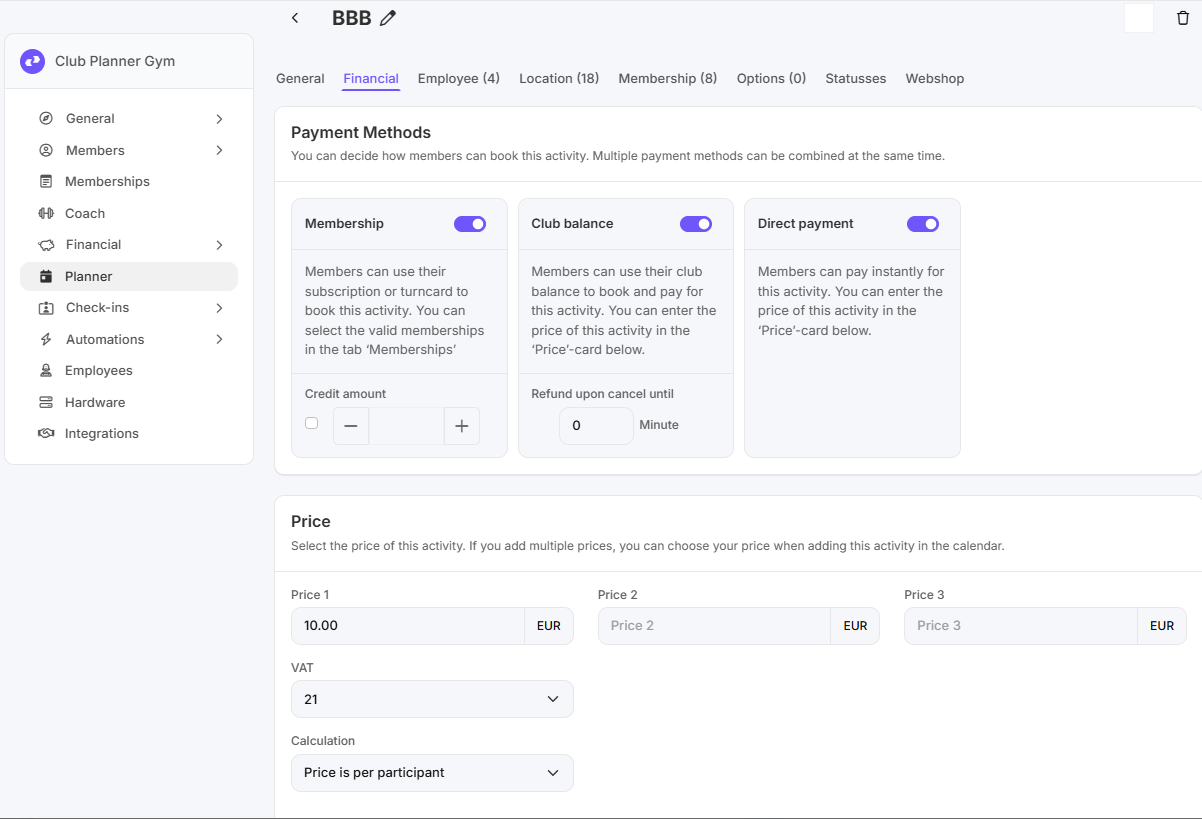
- For the following information in the Financial tab:
-
Payment Methods:
1. Membership: Members can pay using their membership or punch card.
2. Club balance: Members can pay using their club balance.
3. Direct payment: Members pay directly for the activity. - Price: Here you can enter the cost of the activity; this must be set for members who pay using their club balance or via direct payment.
-
Payment Methods:
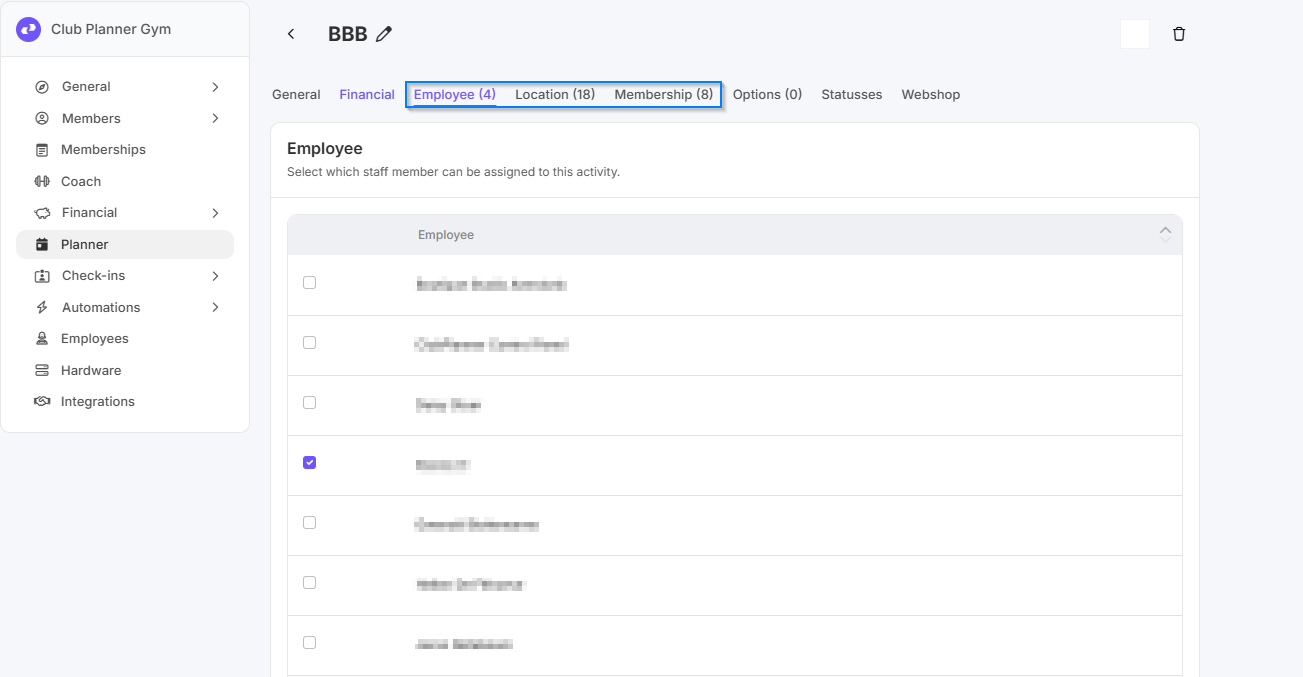
- Staff tab: Check the boxes next to the staff members who can be assigned to this activity.
- Location tab: Check the boxes next to the locations where this activity can be scheduled.
- Memberships tab: Check the boxes next to the memberships that are allowed to book this activity.
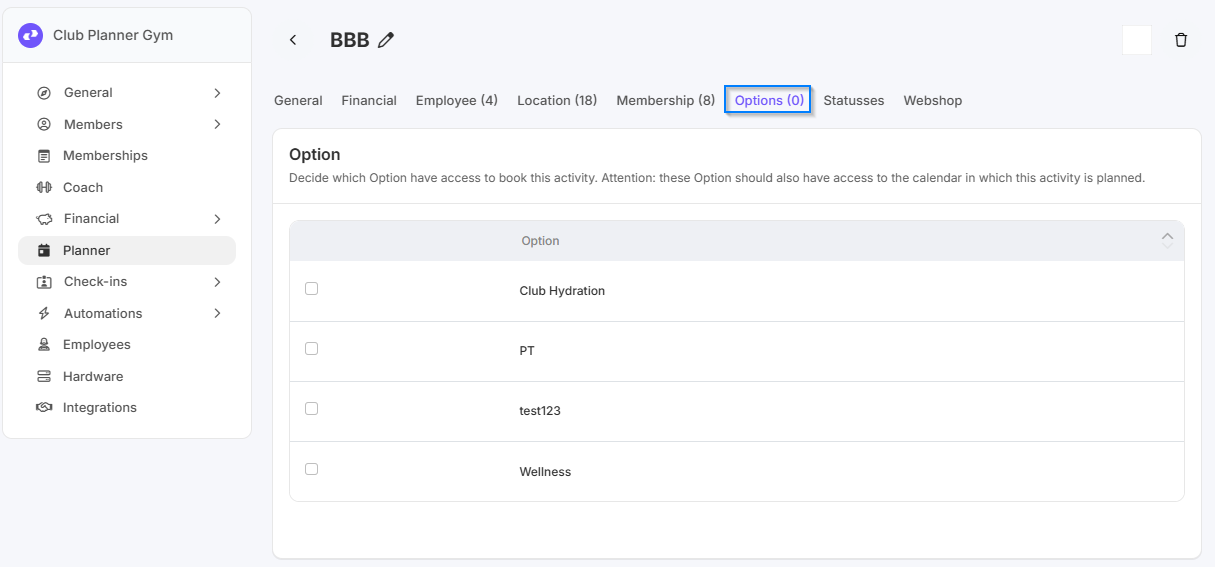
- In the “Options” tab, you can specify which users have permission to book this activity.
Note: These users must have access to the calendar in which the activity is scheduled.
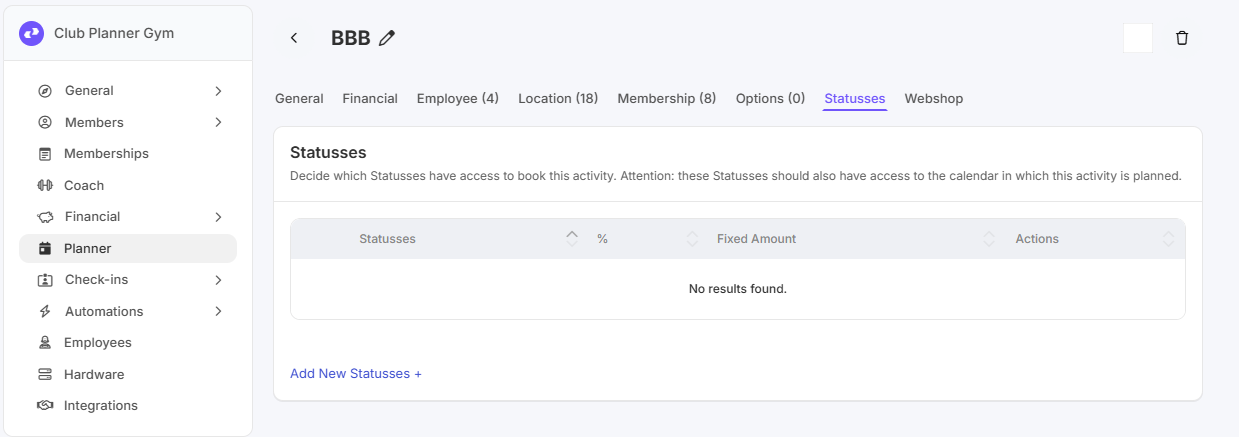
- In the “Status” tab, you can specify which statuses have permission to book this activity.
Note: This status must have access to the calendar in which the activity is scheduled.
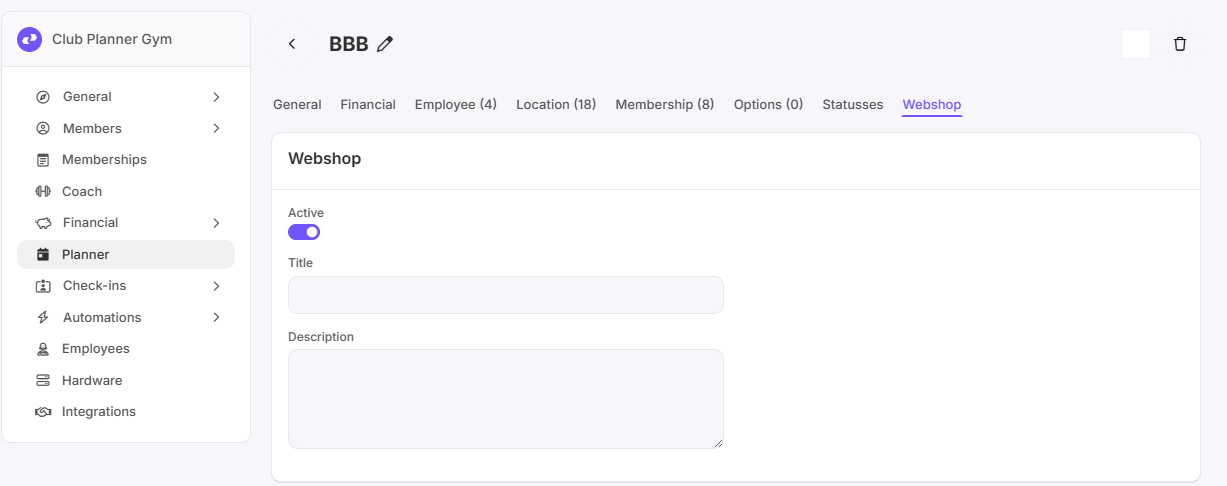
- In the “Webshop” tab, you can specify whether this activity is active or inactive. Set it to active if you want the activity to appear in a booking or slot wizard.
Step 4 – Save
- Click “Save” to create the new activity type.
- The activity type will now appear in the list of available activities.
Step 5 – Verification
- Check to see if the new activity type appears correctly when adding lessons or other activities.
- It can now be used when planning group classes or individual activities.