In this guide, you’ll learn how to configure the Bartender settings in Club Planner.
These settings cover the sale of drinks, snacks, and other items through the Bartender module.
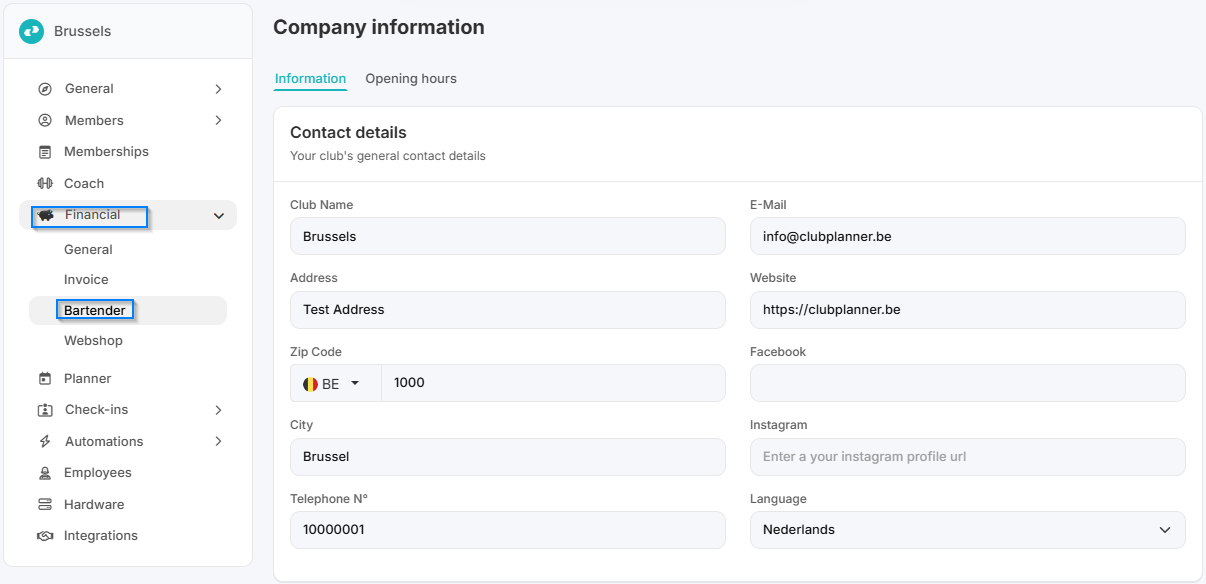
Step 1 – Go to “Settings” → “Financial - Bartender”
- Navigate to "Settings - Financial" in the main menu.
- Then click "Bartender" to open the configuration.
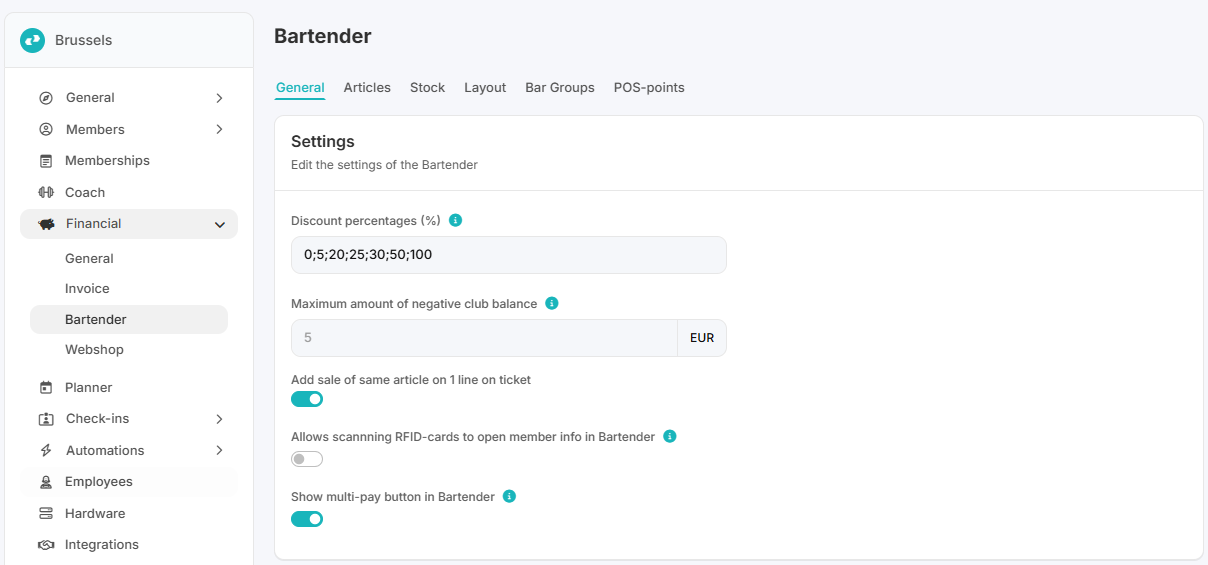
Step 2 – General Settings
Add new discount percentages
Set the minimum negative club balance (how far members can go below zero)
Choose whether all items are printed on one ticket, whether scanned member cards open the member, and whether to show the multi-pay button in Bartender
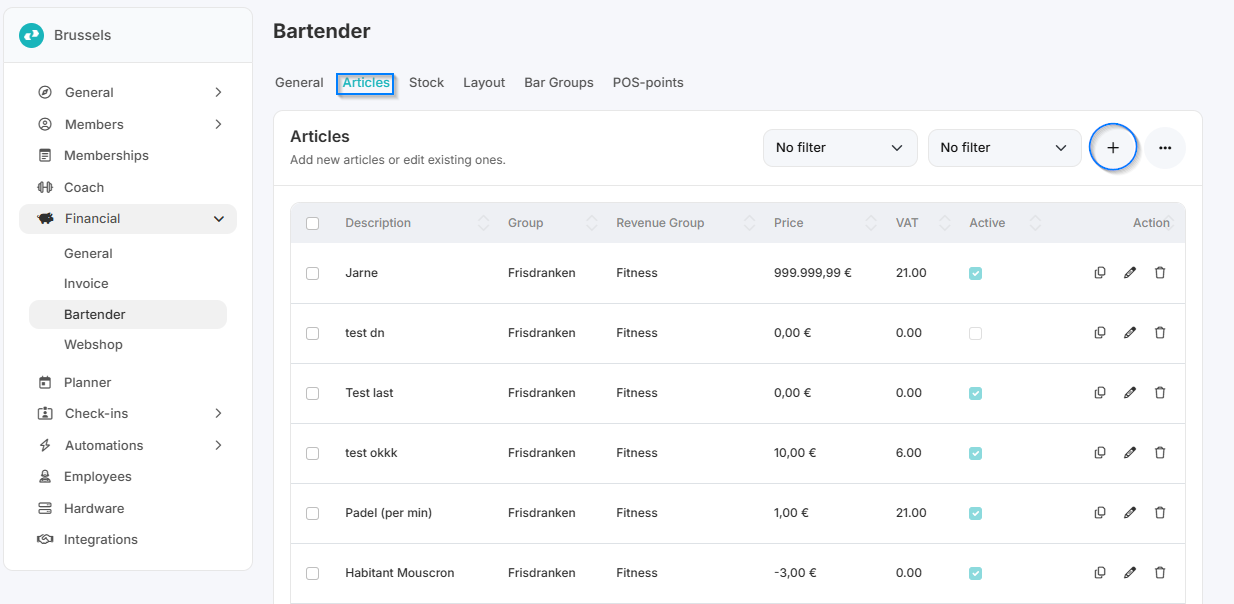
Step 3 – Add or Edit Products
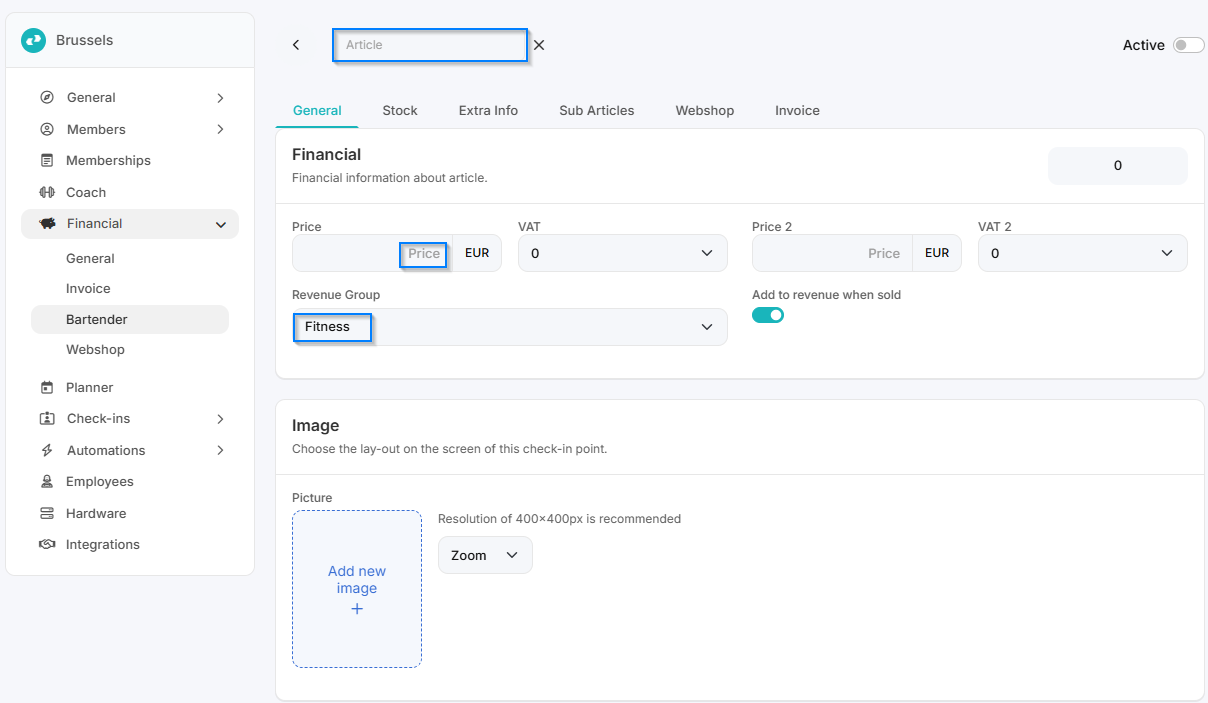
Click "Add Product" to add a new product.
-
Fill in details such as:
Name
Price
Category
Availability
Step 4 – Layout
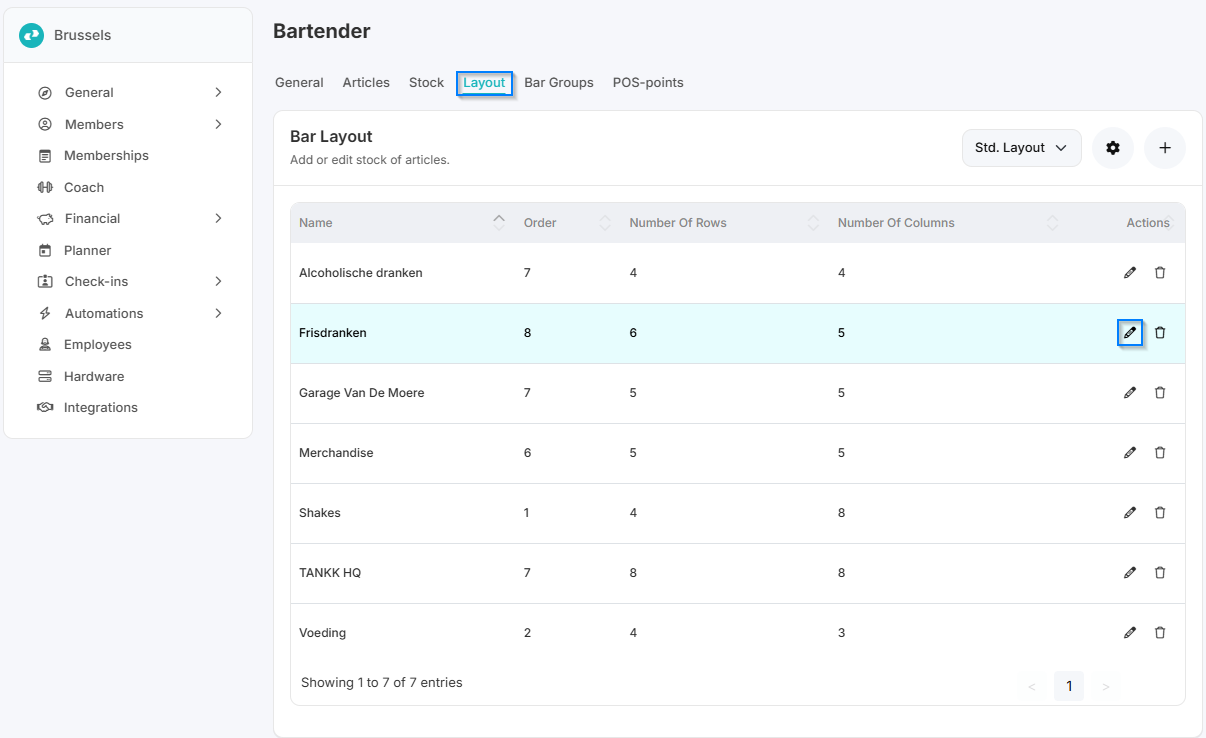
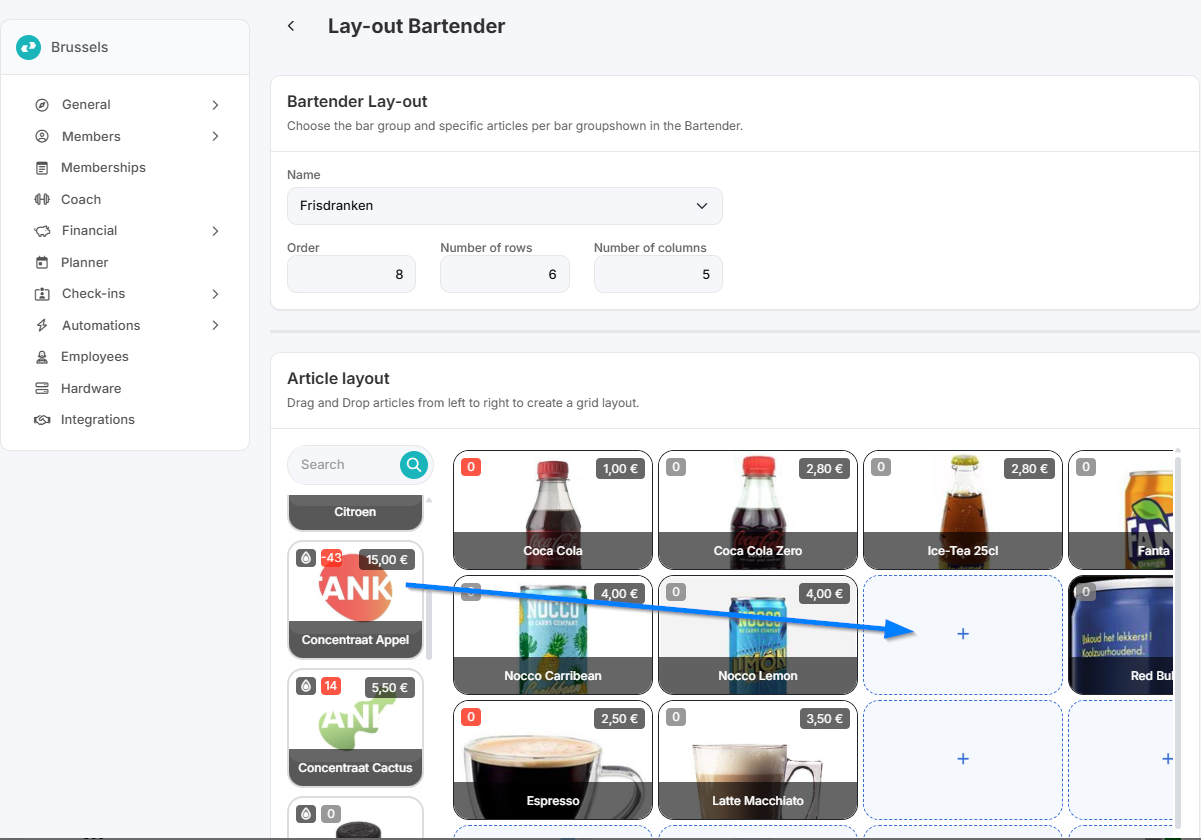
Once you’ve added products, you can add them to the layout.
This determines how transactions are processed at the Bartender POS.
Step 5 – Bar Groups
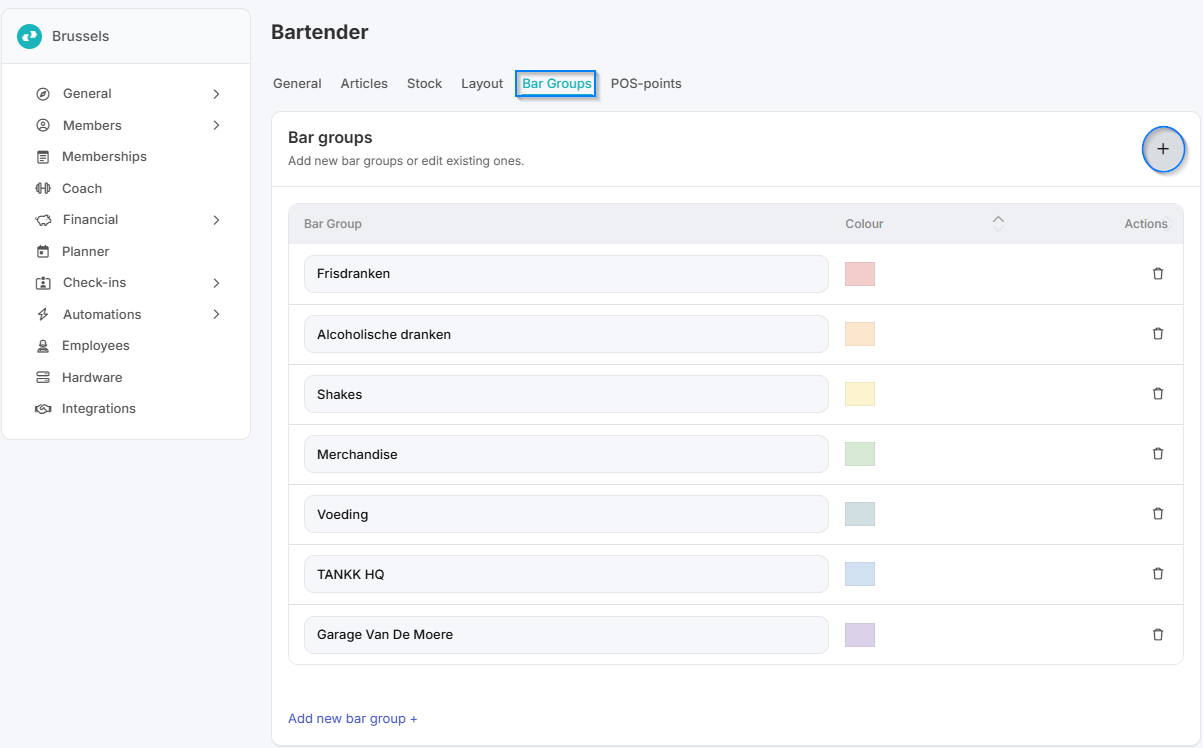
Create different bar groups for a clear overview in Bartender.
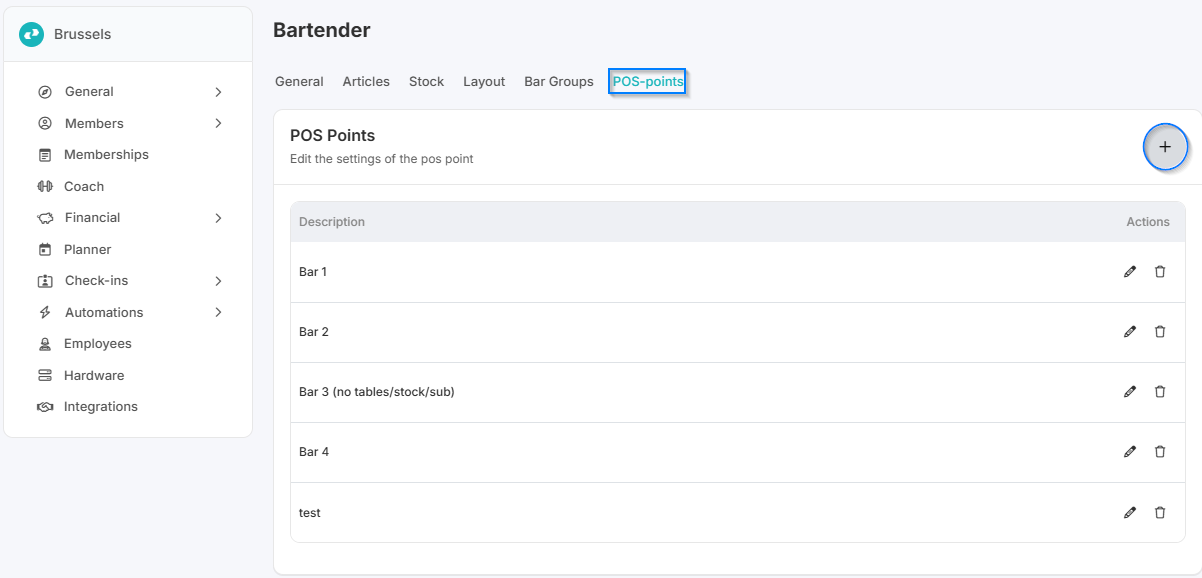
Step 6 – POS Points
You can activate multiple layouts / POS points for different cash registers, each with a different layout or set of products.