In this guide, you will learn how to add a suspension to a member's profile in Clubplanner. This is useful when a member wants to temporarily pause their membership.
Step 1 – Open member profile
- Go to the member list.
- Click on the member that needs to be temporarily frozen.
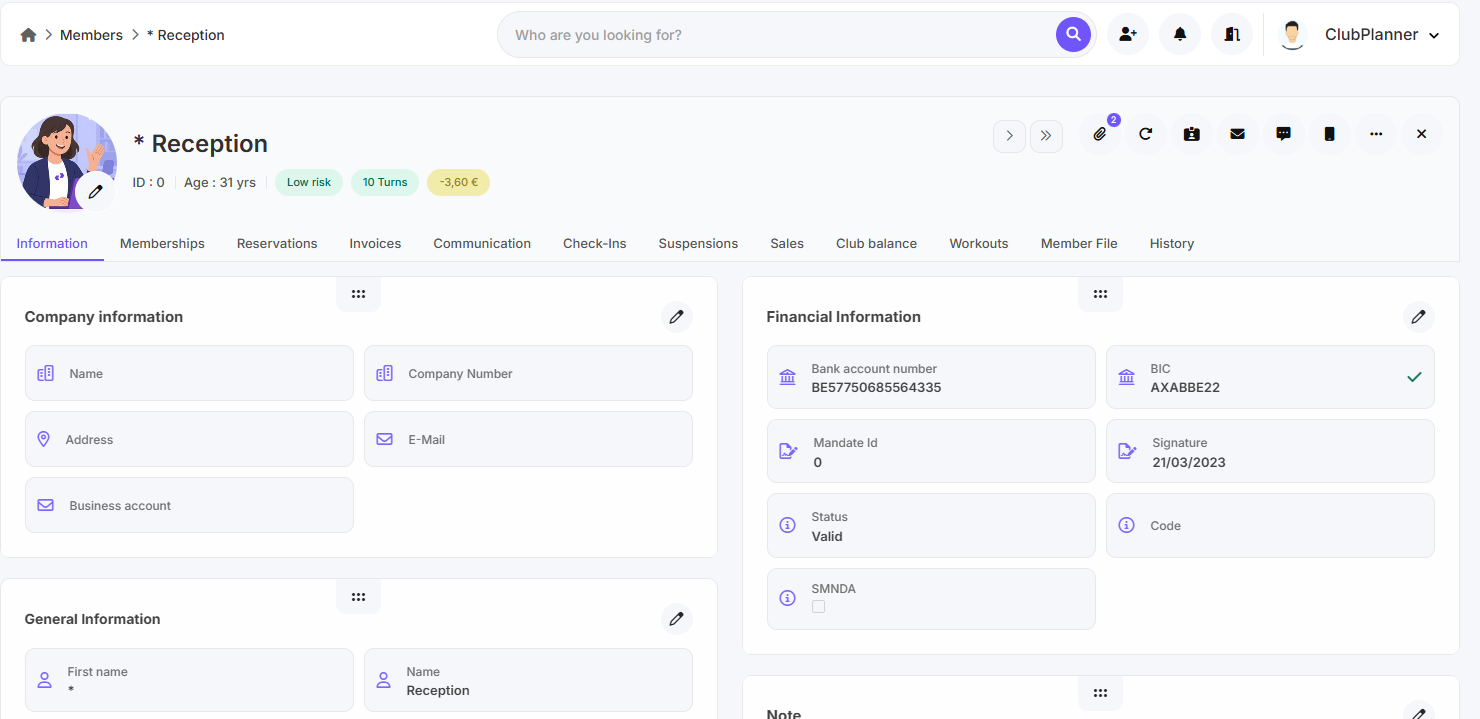
Step 2 – Go to the “Memberships” tab
- In the member profile, click on the 'Memberships' tab.
- Here you can see the member's active memberships.
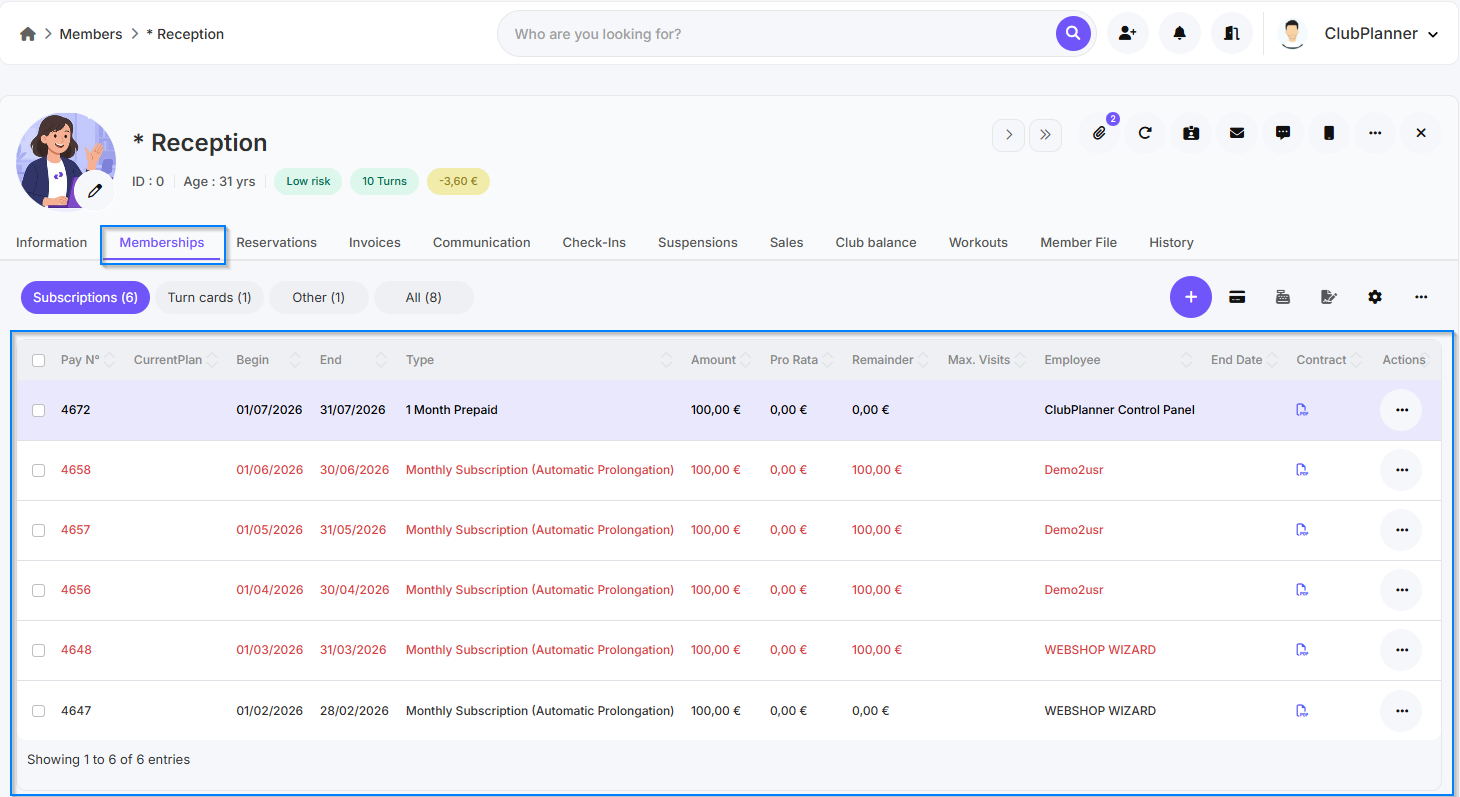
Step 3 – Go to the 'Suspensions' tab
- In the member profile, click on the 'Suspensions' tab.
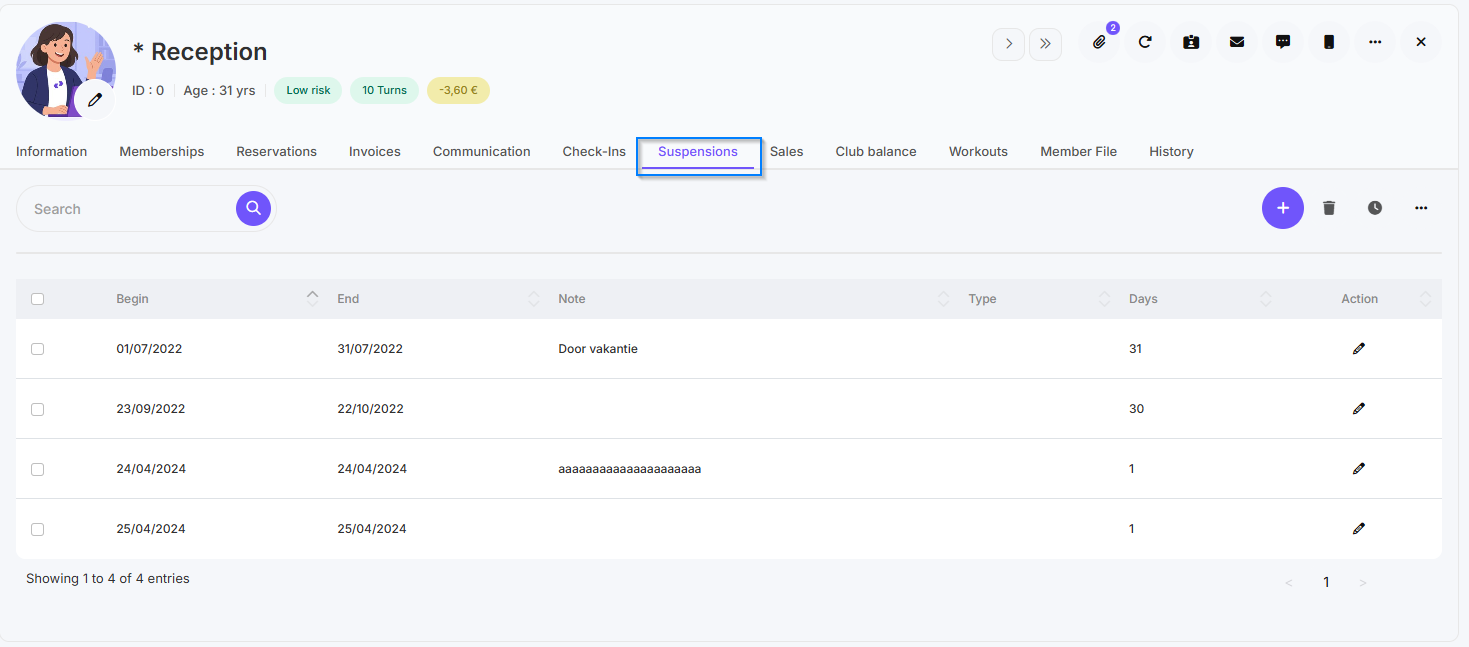
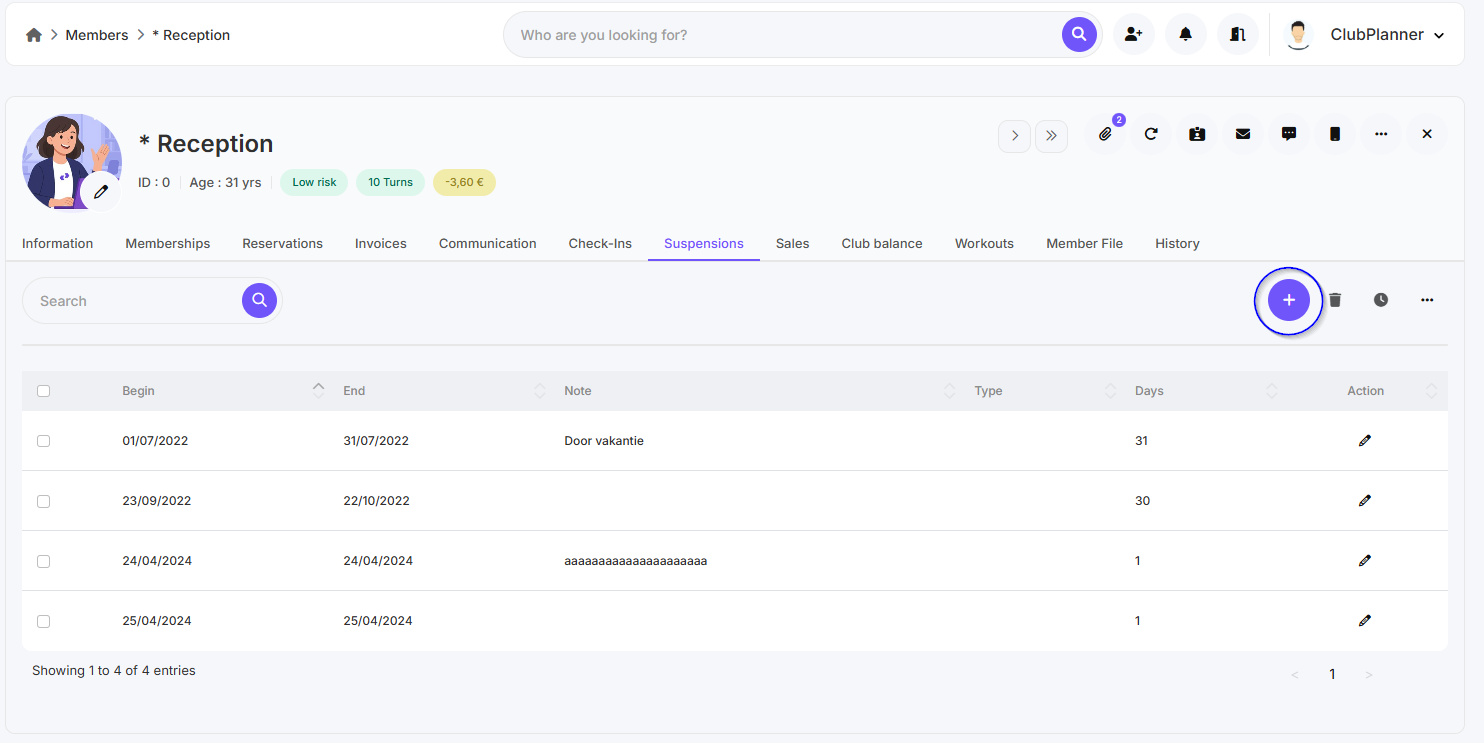
Step 4 – Choose 'Add Suspension'
- Select the 'Add Suspension' option to add a temporary pause.
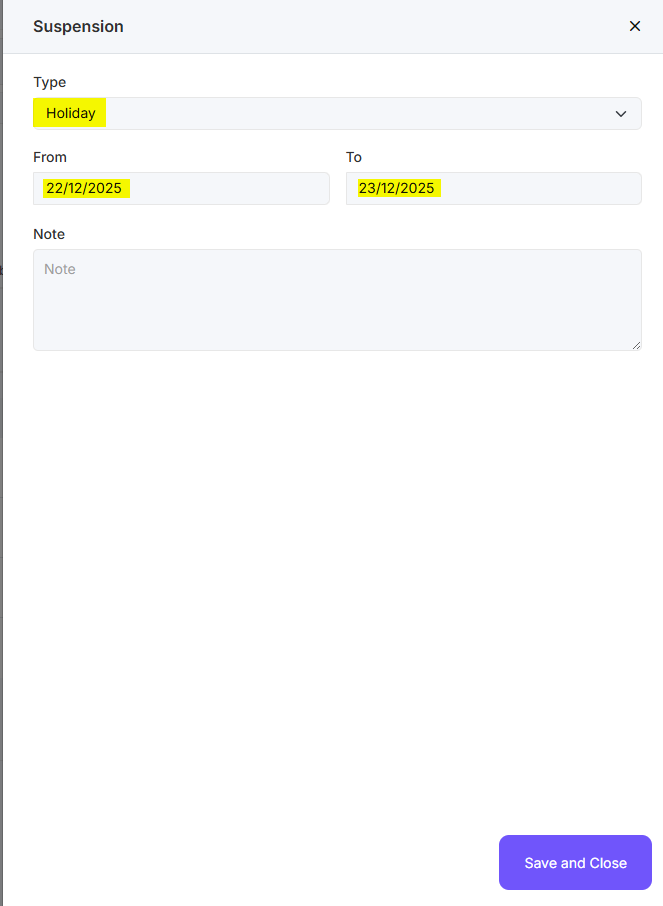
Step 5 – Set the period
- Enter the start and end dates of the suspension.
- Check that the period is set correctly.
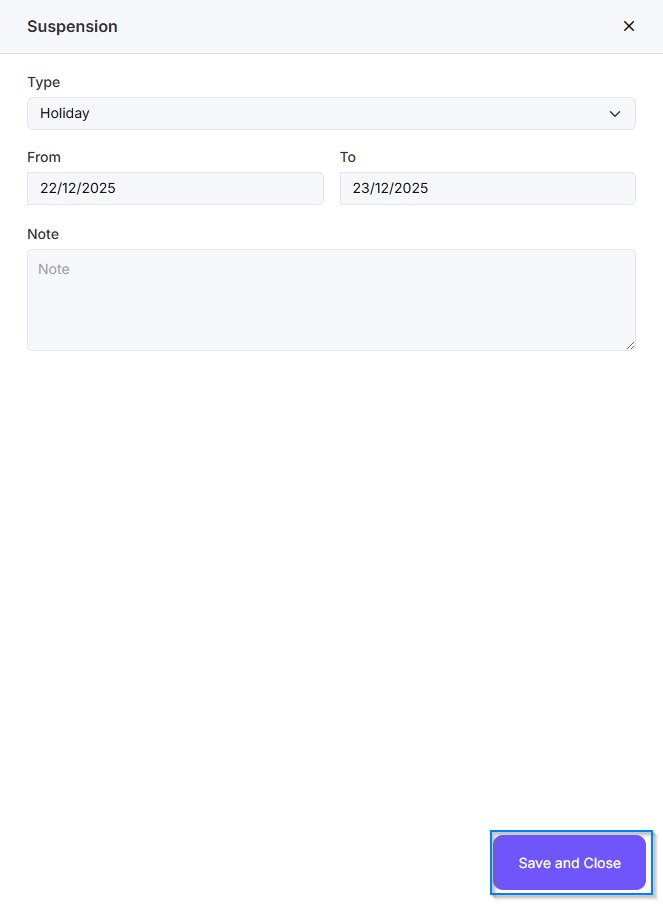
Step 6 – Confirm
- Click 'Save' to add the suspension.
- Membership will be automatically paused during the selected period.
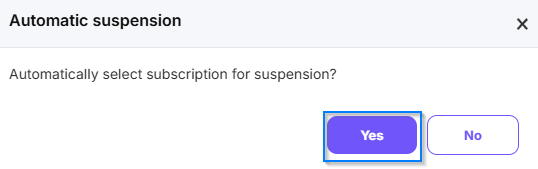
- Then click ‘Yes’ and it will automatically select the correct subscription.
What types of suspensions are there?
- Go to Settings - Memberships
- Select the desired membership and click 'Edit'.
- Go to the 'Suspensions' tab
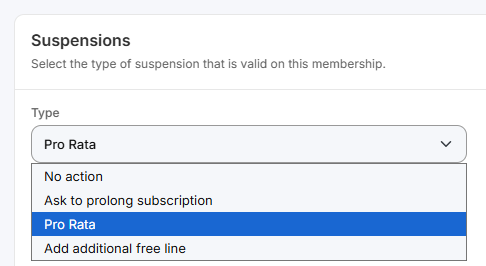
- Here you will find four options under the ‘Type’ dropdown menu:
- No action: members are frozen, but nothing happens to the membership (it is not extended or prorated).
- Request to extend: this type is mainly used for prepaid subscriptions and class passes. The exact number of suspension days is added to the membership’s end date.
- Pro Rata: this type is mainly used for recurring memberships. The number of frozen days is applied as a discount (monetary value) on the next unpaid subscription line(s).
- Add new free subscription line: a free subscription line (of the same membership type) is added after the membership’s end date. This type is mainly used for recurring subscriptions (with a fixed end date, i.e., without automatic renewal) and prepaid memberships.