
Want to show a photo, logo or banner in your emails? Do not paste the image straight into the mail. Upload it to your club's cloud storage first and then add it through a link (URL). This article explains why that matters and how to do it step by step.
Why not simply paste the image into the mail?
When you paste or drag an image straight into the editor, that image is stored inside the template itself. The photo literally becomes part of your mail text, converted into thousands of characters of code. A 2 MB photo turns into roughly 2.7 MB of code, in every template where you use it.
In practice that causes four problems:
- Your database grows very fast. A template with a pasted photo takes up dozens of times more space than a template with a link. Your database space is limited and paid for, and your daily backup becomes slower as well.
- Your mails become heavy. Every mail you send carries the full photo along. A newsletter to 2,000 members sends that photo 2,000 times.
- A higher risk of spam. Heavy mails with embedded images are more often marked as spam or cut off by mail providers.
- The image is not always displayed. Some mail programs, Outlook and Gmail among them, do not render embedded images correctly or truncate the mail.
None of that happens with a link. The image sits in cloud storage once and the mail only contains a reference of a few characters. The mail stays light and the photo is shown when the mail is opened.
Good to know: your Club Planner package includes 1 GB of cloud storage per club. Files in cloud storage do not count towards your database or your daily backup.
Step 1 - Upload the image to cloud storage
- Go to Settings.
- In the left menu, click General and then Platform.
- Open the Cloud storage tab. At the top you can see how much storage you are already using.
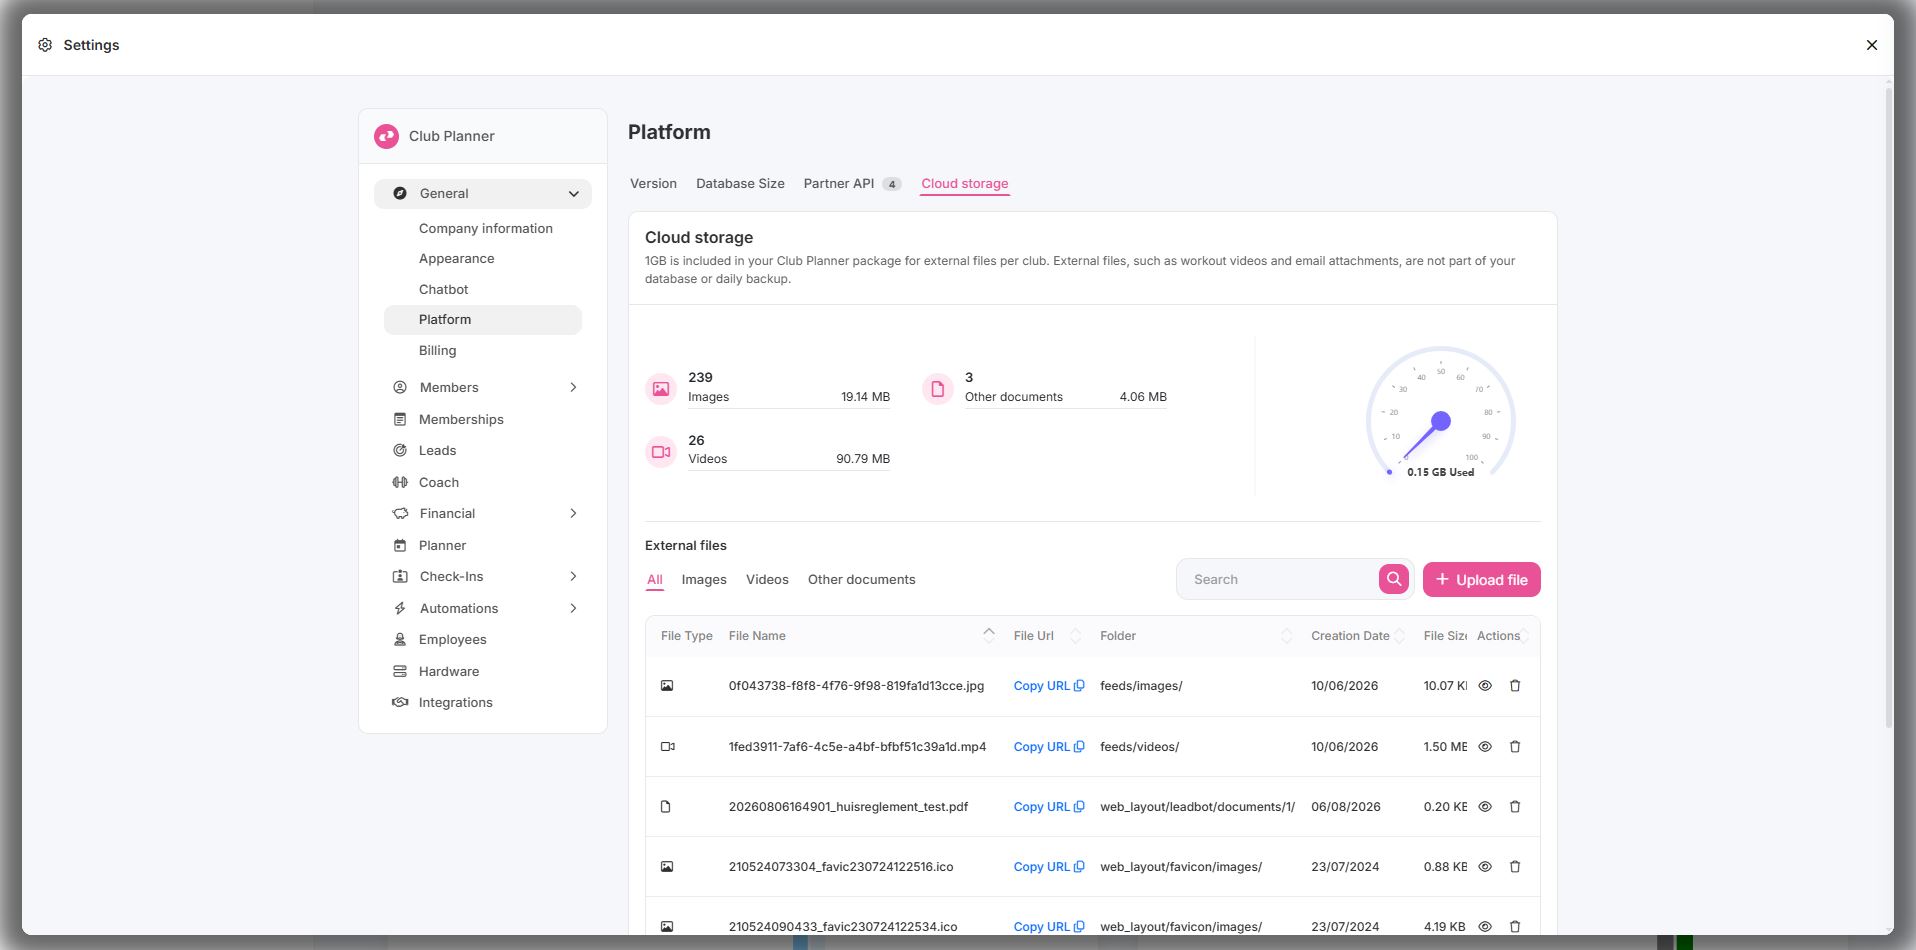
- Click Upload file on the right.
- Choose My Device and select the image on your computer, or drag the file into the window.
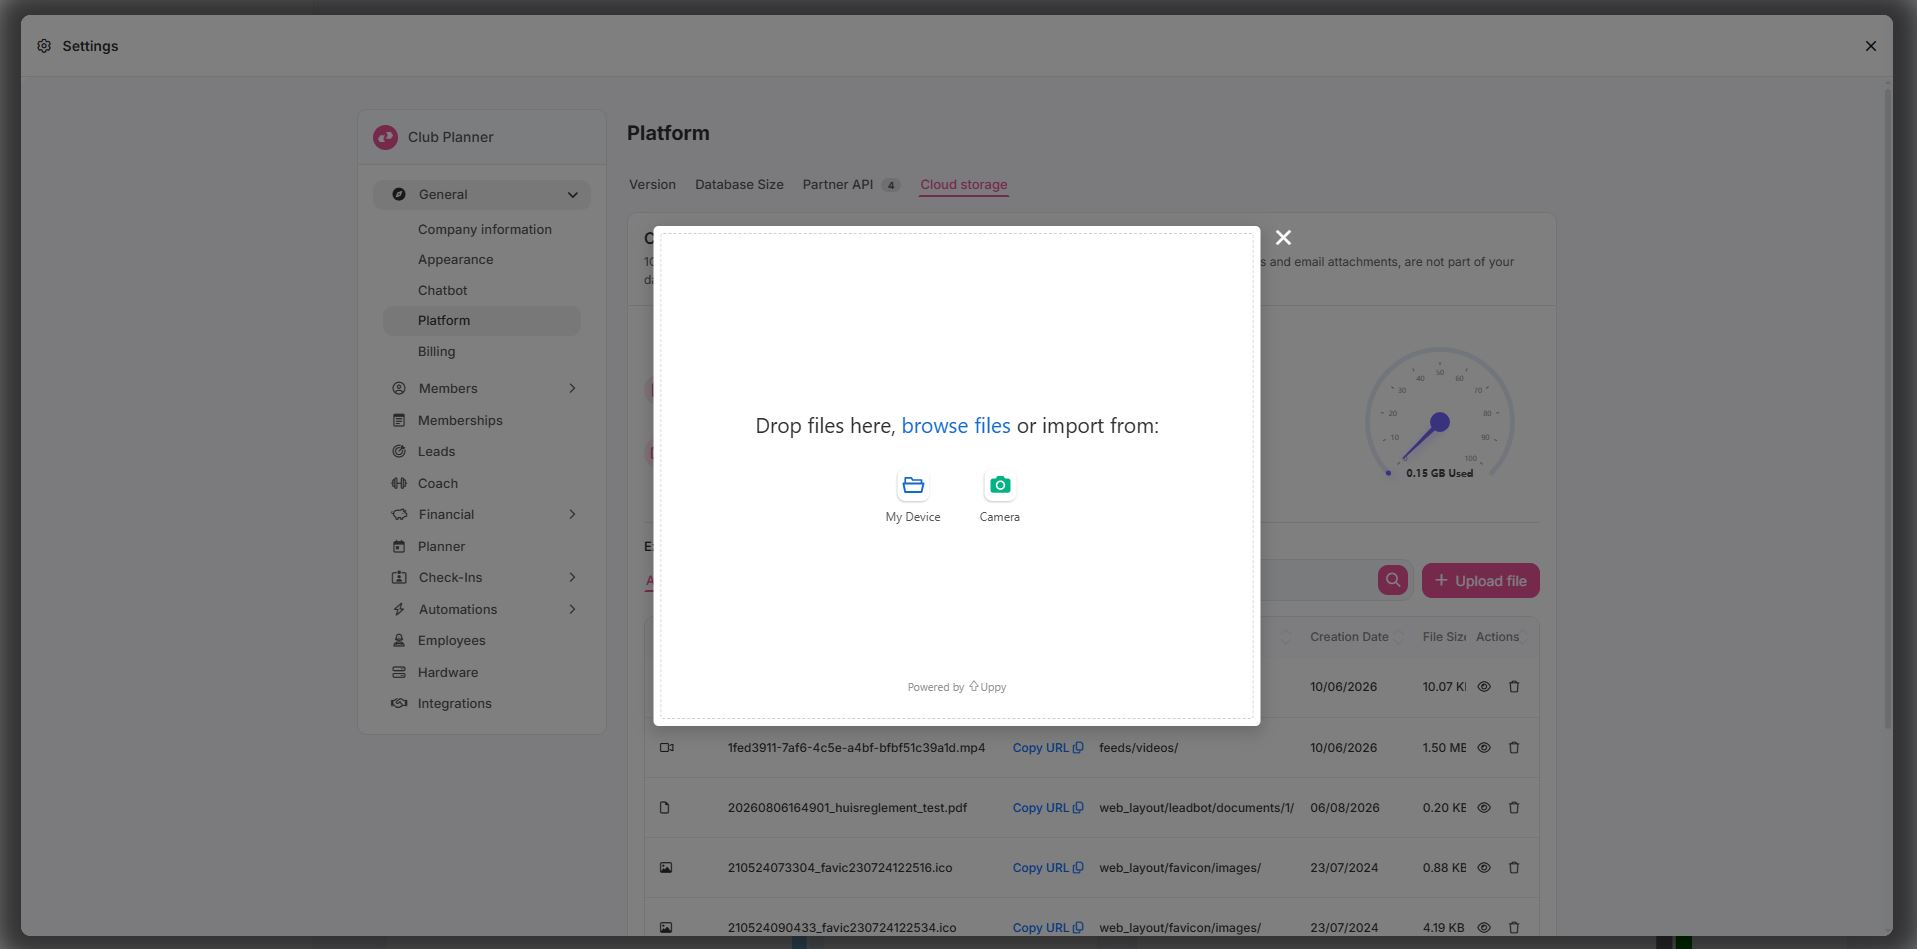
- Click Upload and, once the upload has finished, Done.
Your file automatically ends up in the right folder: images under Images, videos under Videos and everything else under Other documents. You do not have to pick a folder yourself.
Step 2 - Copy the link to the image
- Click the Images tab. You now see the list of all your images.
- Find your file in the list. The eye icon on the right lets you preview the image first, so you are sure you have the right one.
- In the File Url column, click Copy URL. The link is now on your clipboard.
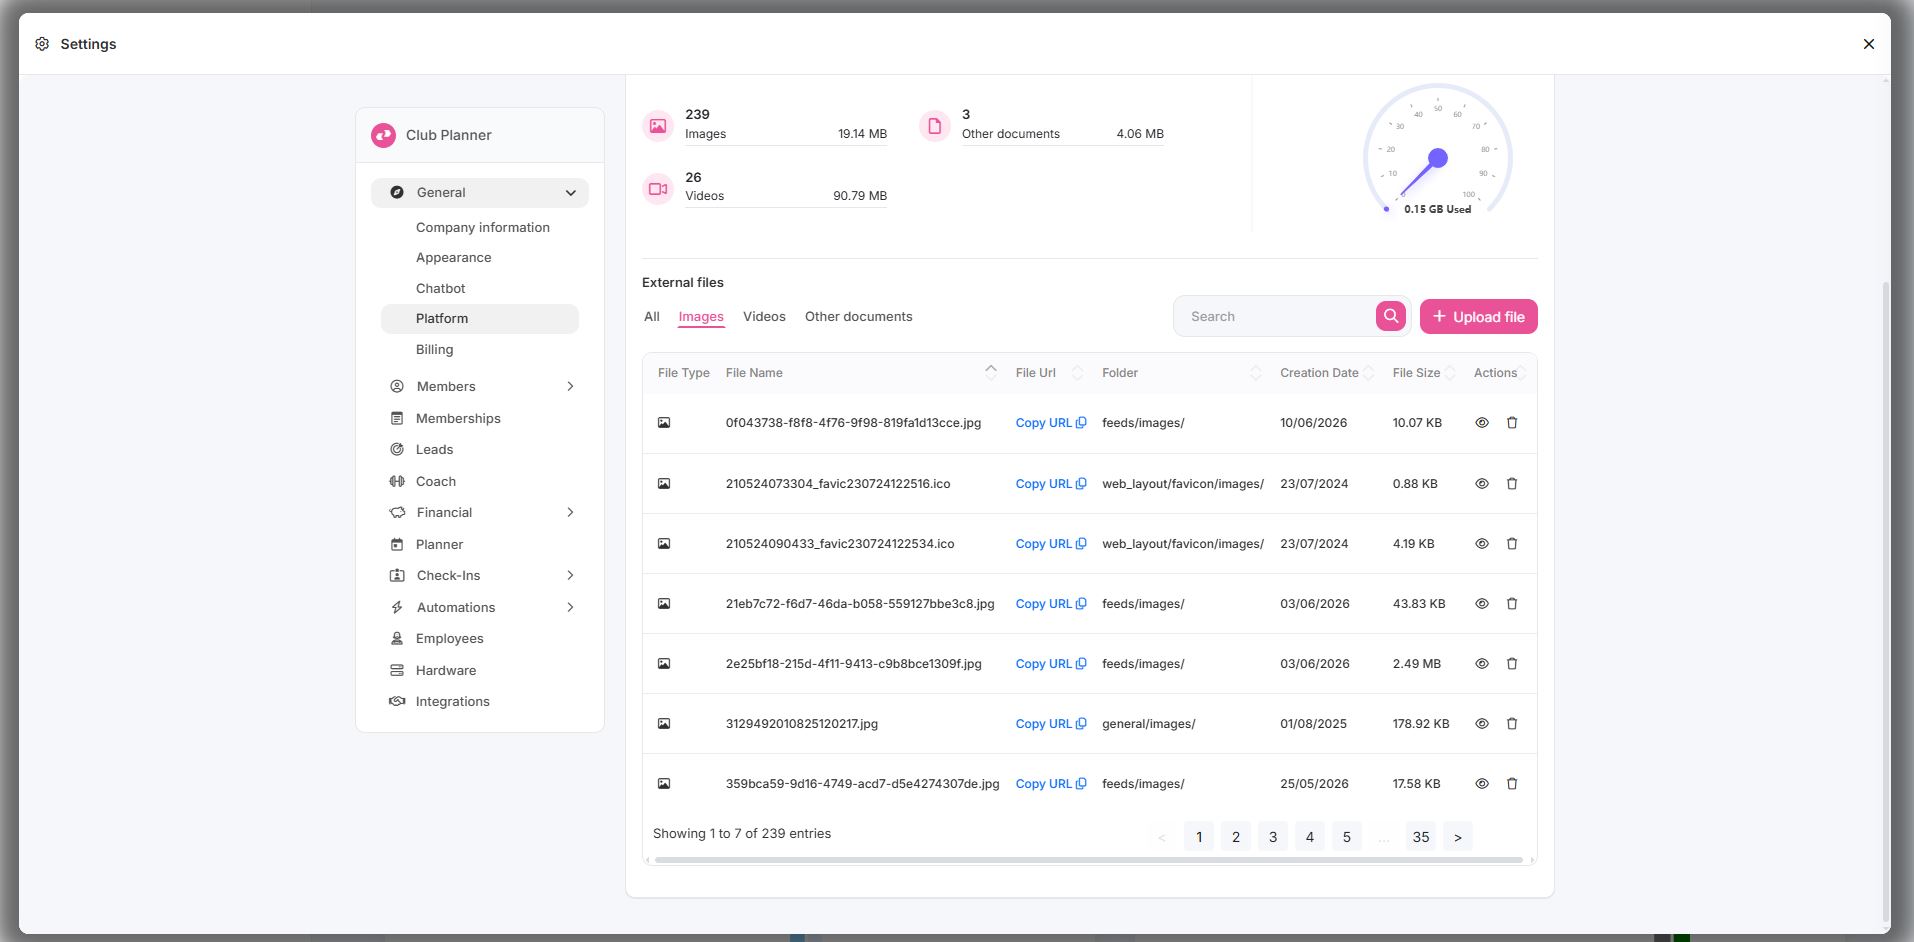
Feel free to paste the link into your browser's address bar to check it: you should see the image.
Step 3 - Add the image to your email template
- Go to Settings, click Automations in the left menu and then E-mail templates.
- Open the template in which you want to show the image.
- Place your cursor where the image should appear.
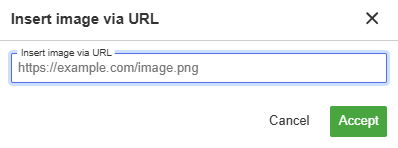
- In the editor toolbar, click the image button. Hover over it and you will see its name, Insert image via URL.
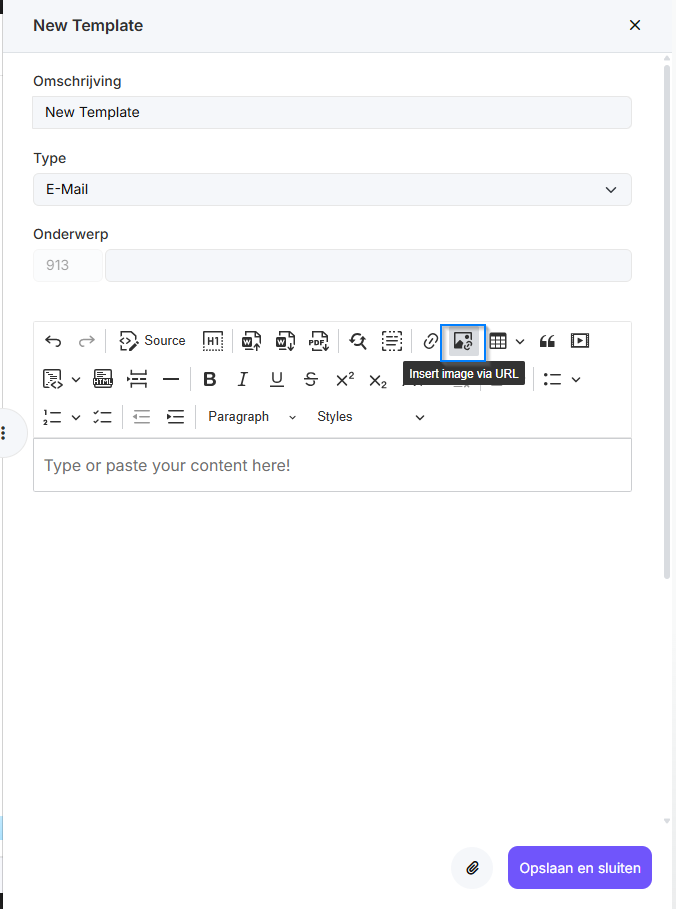
- Paste the copied link into the field and confirm with Accept or Enter.
- The image appears in your template right away. Click it to enlarge, shrink or align it.
- Save the template.
The same method applies to a one-off mail or newsletter you send to your members: there too, use Insert image via URL instead of pasting the image.
Points to watch
- Never drag or paste an image straight into the editor. That is exactly how the photo ends up inside your template instead of in the cloud. Always add it through Insert image via URL.
- Resize your image beforehand. A width of 600 to 800 pixels is more than enough for a mail. A photo taken straight from your smartphone is usually far too large and fills up your storage for nothing.
- Use a clear file name without spaces or accents, for example banner-summer-2026.jpg. That way you can easily recognise your files in the list later on.
- Do not delete an image while it is still in use. If you remove a file from cloud storage the link stops working, and both the template and the mails you already sent will show an empty box.
- Uploading a file with the same name? Club Planner asks whether you want to replace the existing file. That is handy if you have a new banner every season: the link stays the same, and the new image appears everywhere that link is used.
- Do not store confidential documents there. The link is public: anyone who has it can view the file. That is what makes it possible to show the image in mails, but it also means cloud storage is not the place for sensitive data.
Frequently asked questions
My member does not see the image in the mail.
Some mail programs block images until the recipient clicks "display images". That is normal and applies to every mail containing images. So make sure your mail remains readable without images, and never put important information inside a photo.
Can I send a pdf or a video this way as well?
Yes. You upload the file in the same way and copy the URL. Instead of inserting an image, you put the link behind a word or a button in your mail. Your mail stays light and the recipient can open the file whenever they want.
How much space do I have?
1 GB per club by default. At the top of the Cloud storage tab you can see how much you have used.