
In this manual, you will learn how to use Club Planner:
- adds a new member
- sell a membership
- and have a contract signed (including e-sign function)
Step 1 – Start the process
-
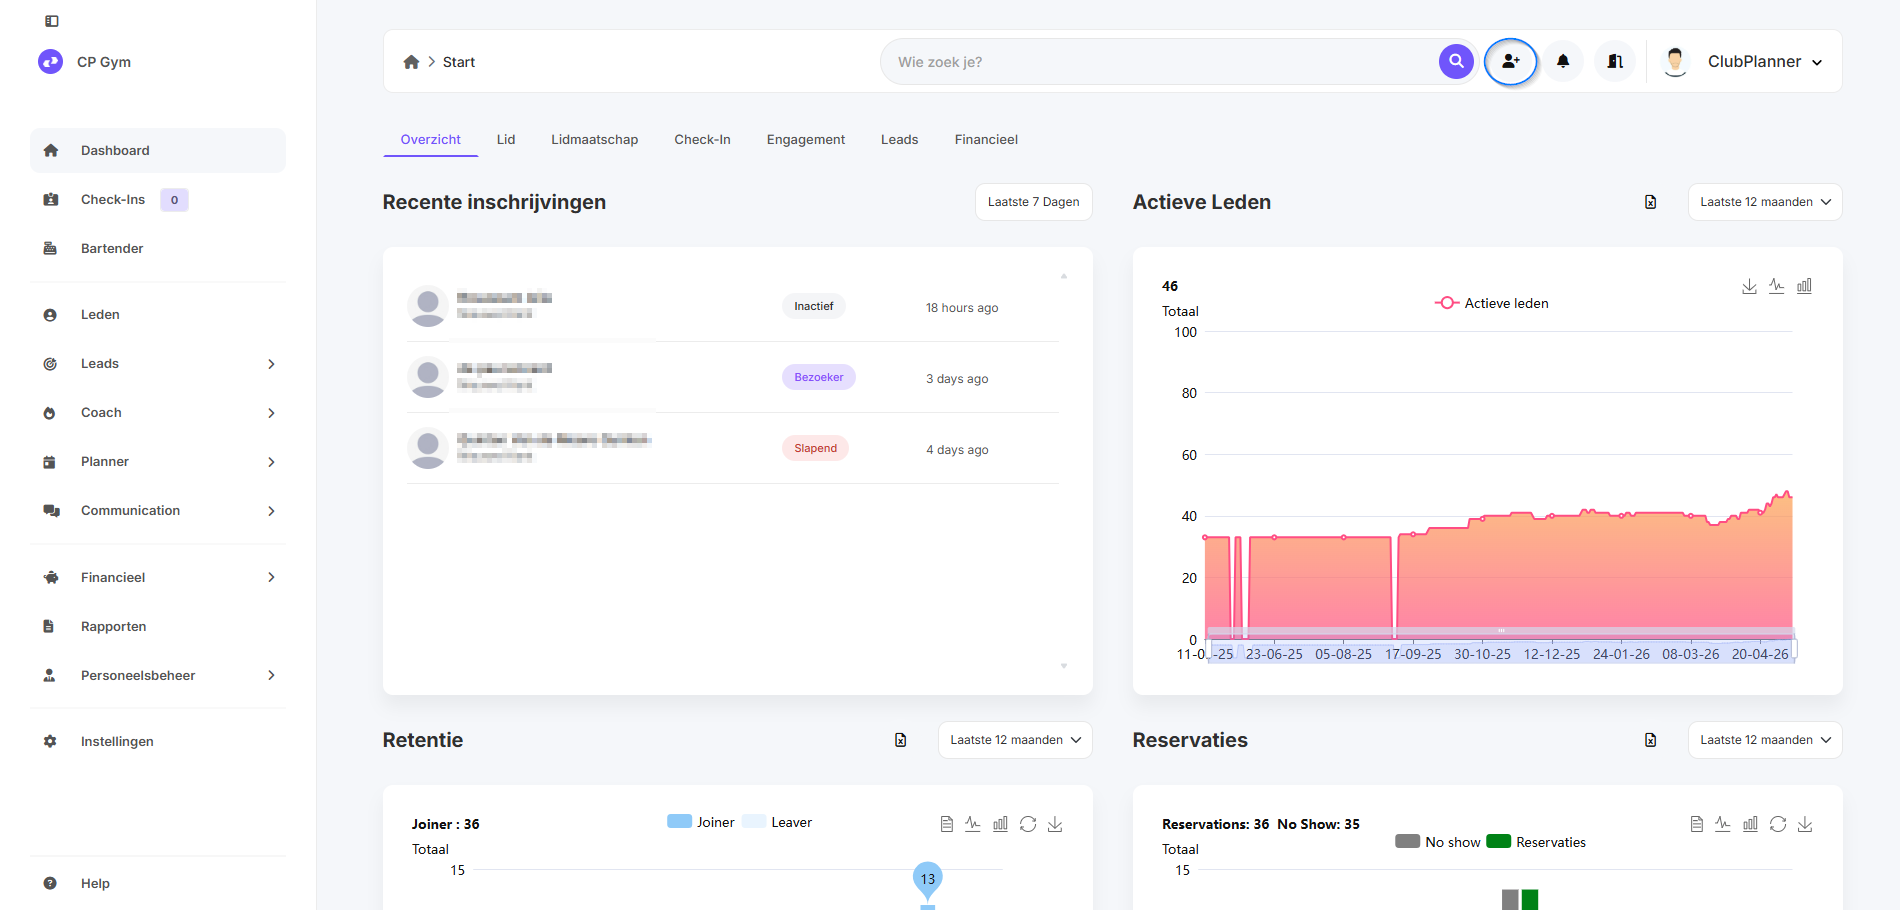
Navigate to your back office, example:
Step 2 – Add a new member
- Click the “Add” button to create a new member.
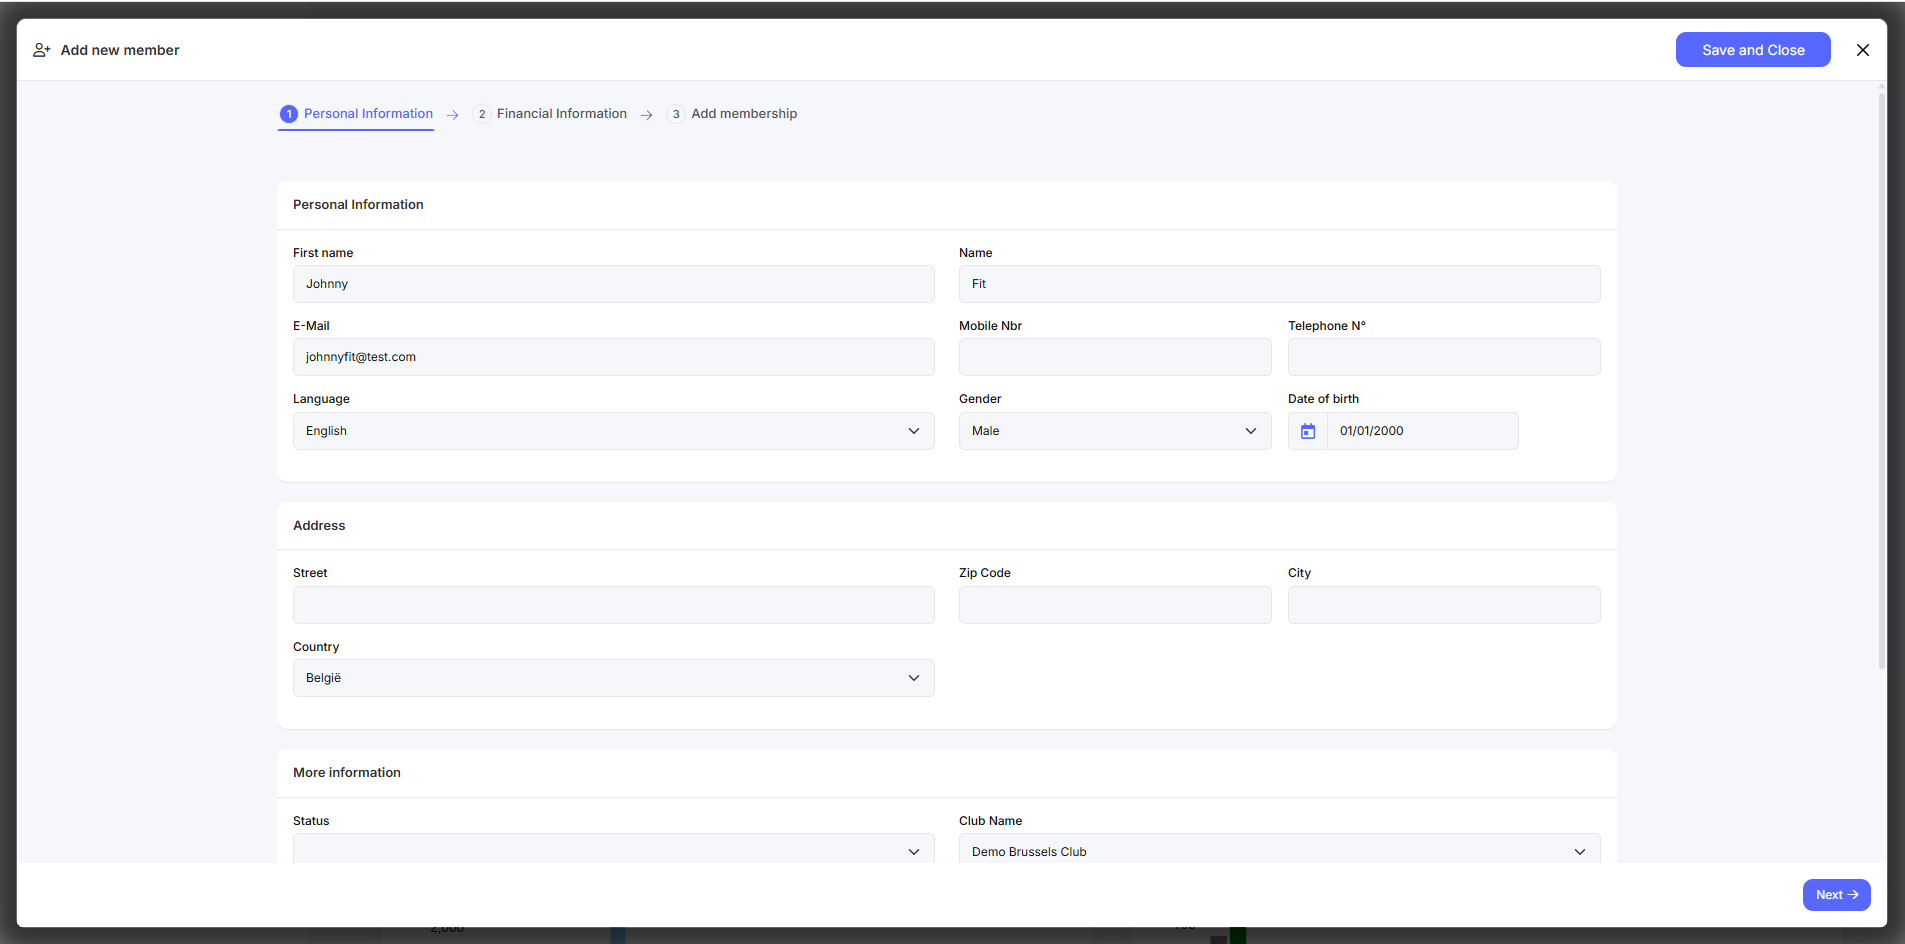
Step 3 – Fill in member details
- Enter personal details (name, date of birth, contact details).
- Then click on “Next".
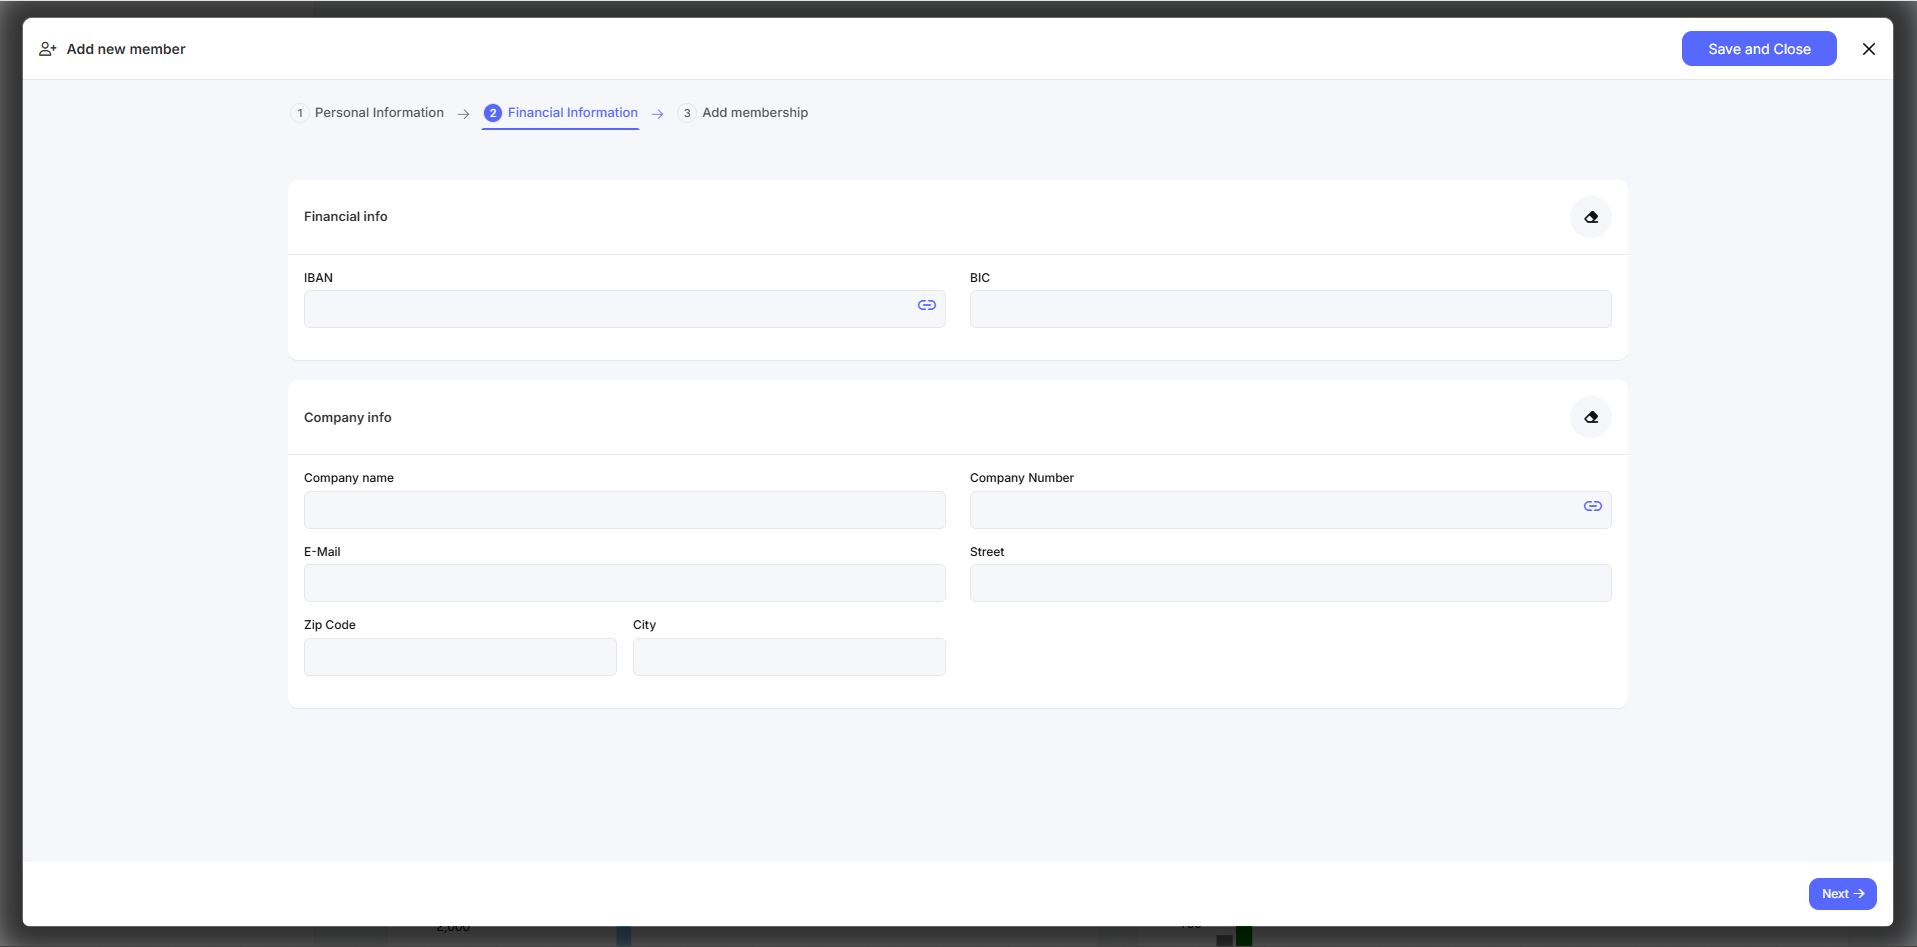
Step 4 – Financial data
- Enter IBAN and BIC if you want to sell a direct debit.
⚠️ If you do not do this, no money will be debited from the customer's account next month. - Does the member not know the BIC? Use the link button to fill it in automatically.
- Then click “Next".
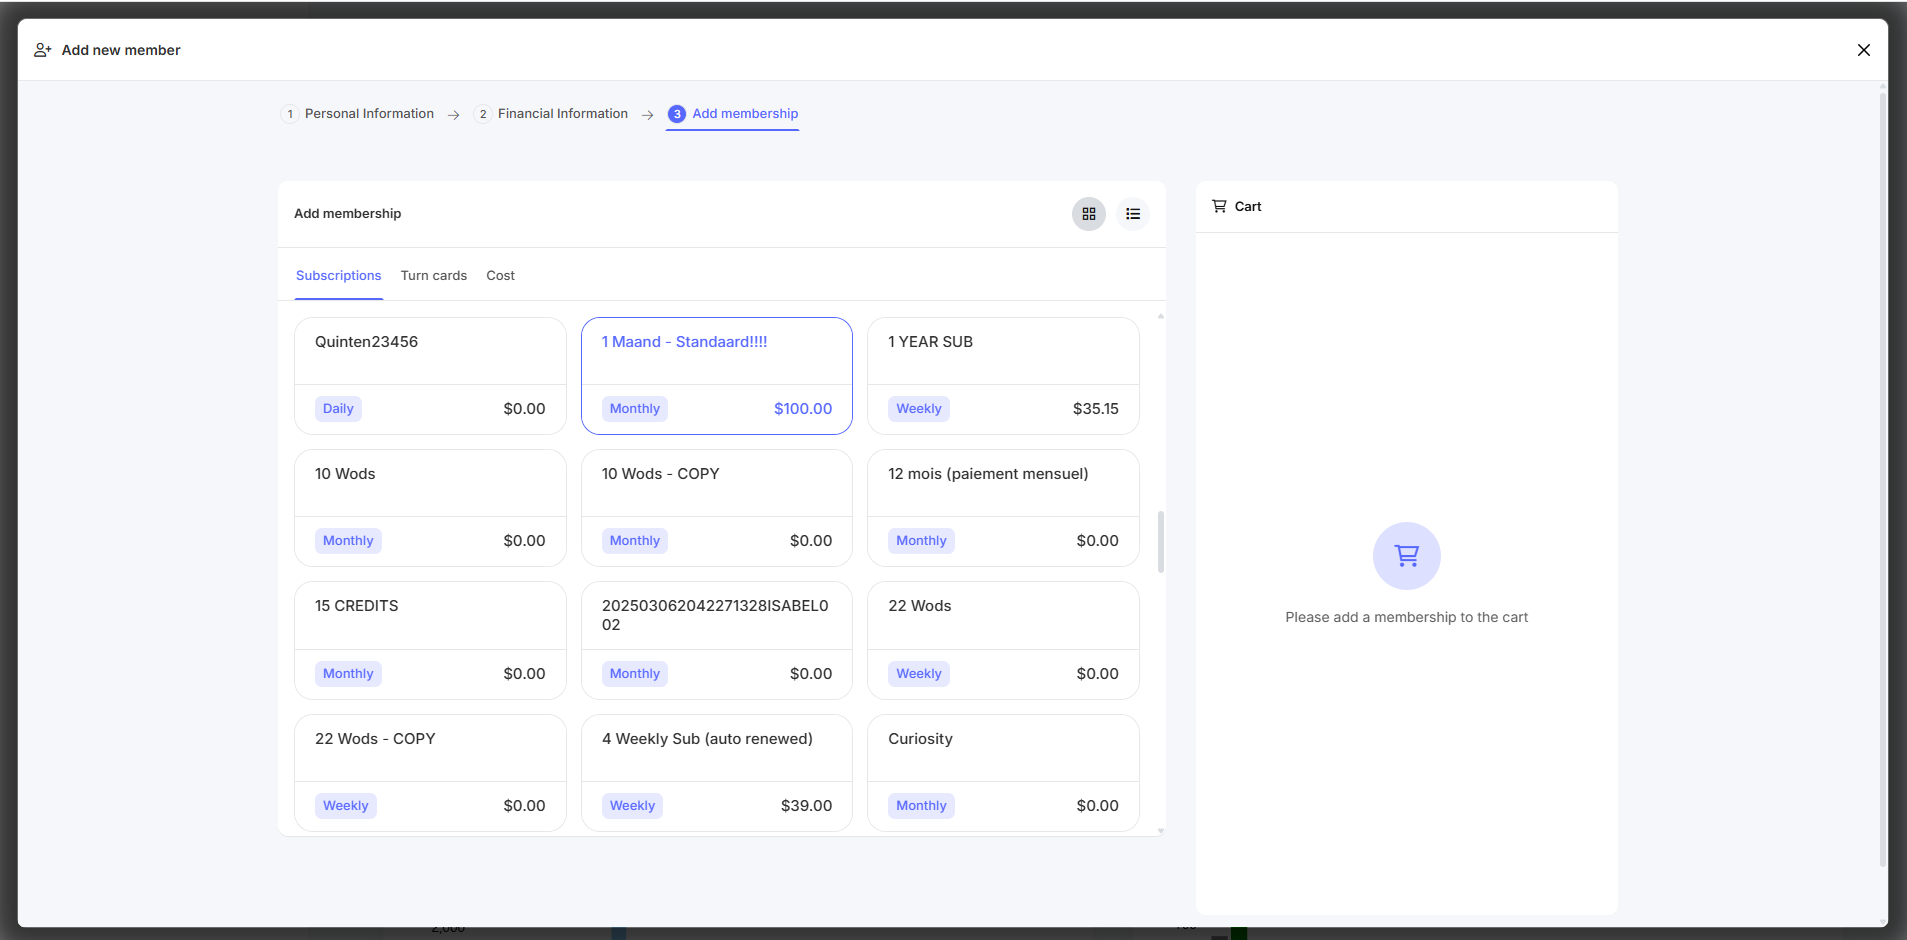
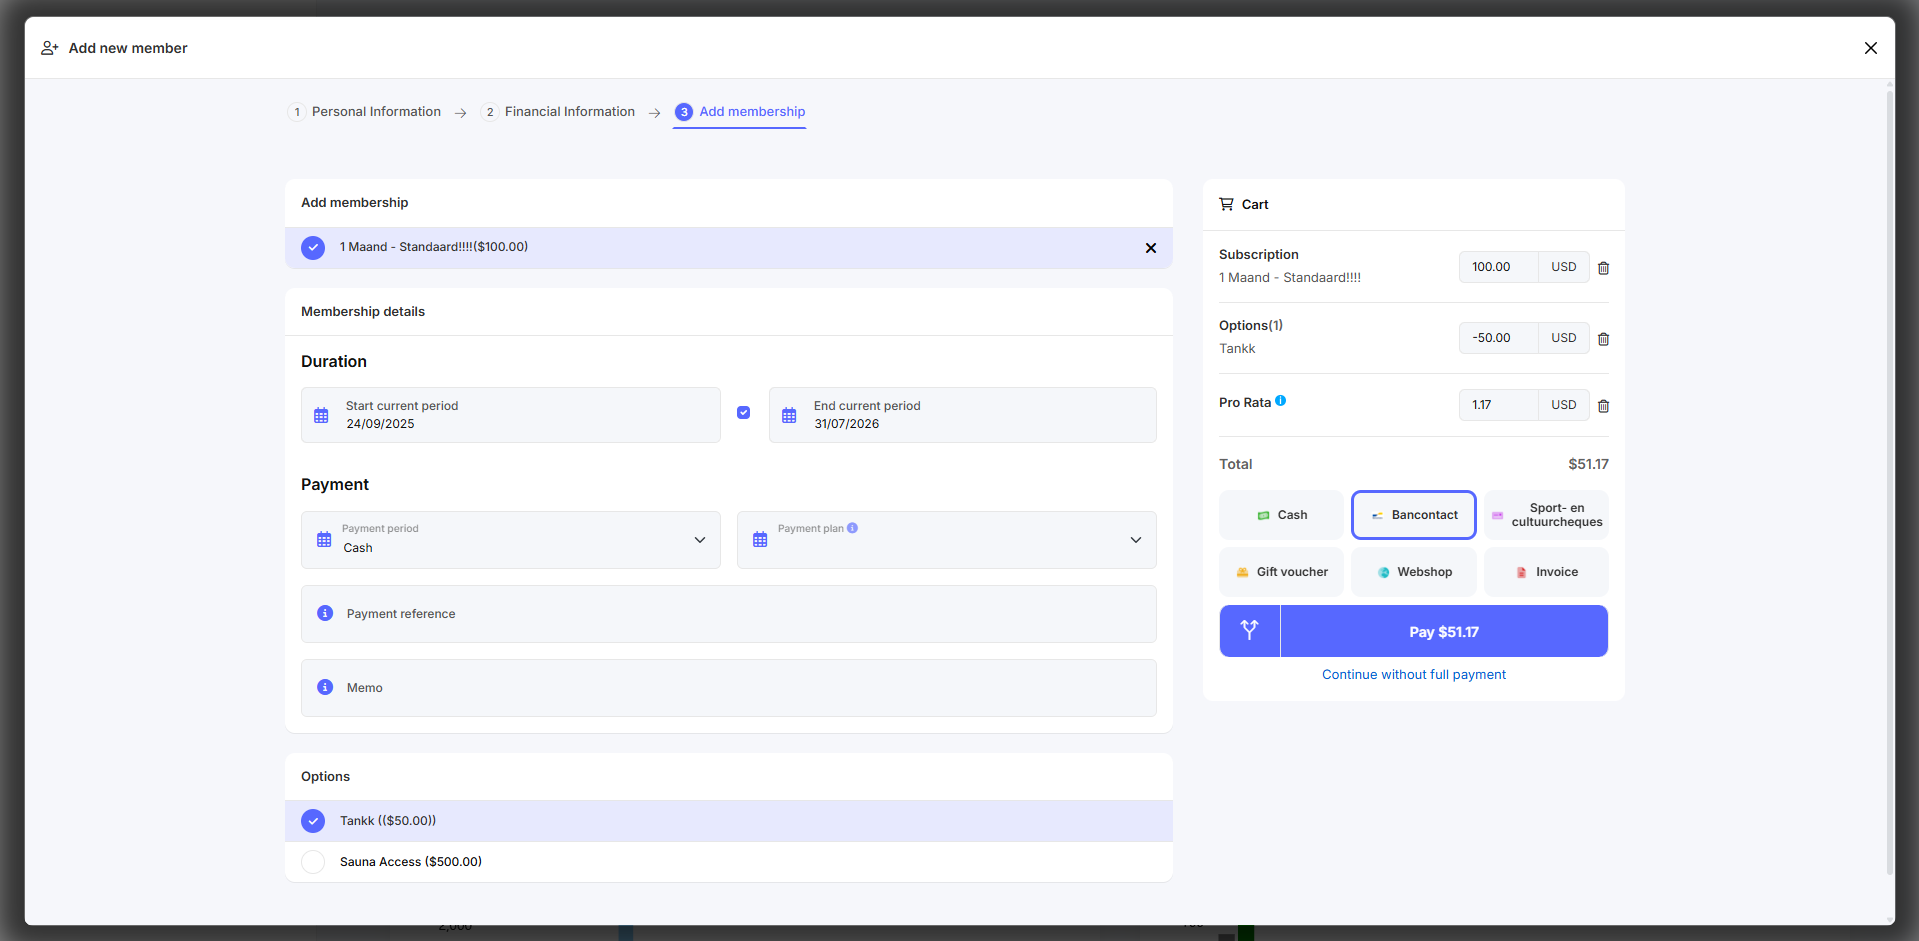
Step 5 – Select membership & pay
-
Select the desired membership.
Promotional code appears automatically if linked. This can be removed.
- Select a payment method, e.g., Cash.
- You can split a payment across multiple methods.
- If payment is not made in full, an outstanding balance (remainder) will appear.
- Click on “Pay [amount]".
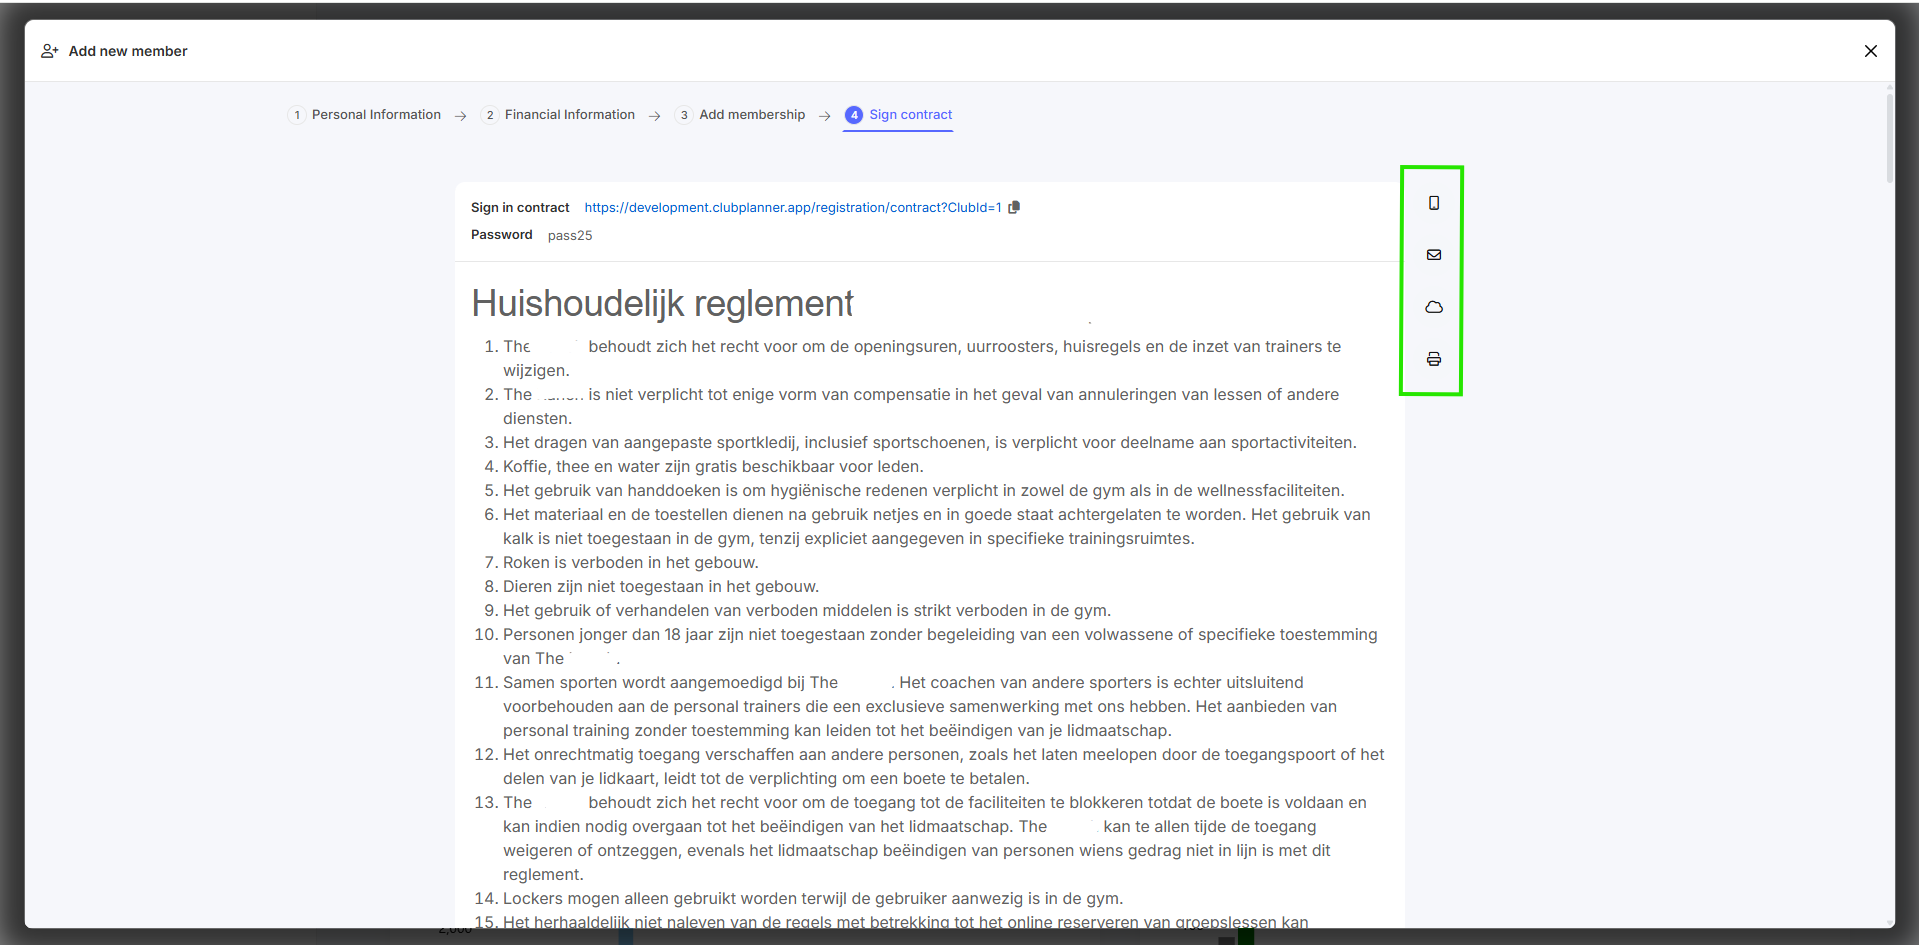
Step 6 – Signing a contract (More information about signing digital contracts.)
- If a contract is linked, it will open automatically.
- Are you using a tablet? Click on “Sign online”:
- The contract is opened via a link on the tablet.
- Click on “Sign online” again to read and sign.
Step 7 – Rounding off
- Click on “View Profile” to open the new member's profile and complete the flow.
💡 Tips
- Promotional codes may be removed if not applicable.
- Partial payments possible → remainder is tracked.
- E-sign: sign contract via URL.