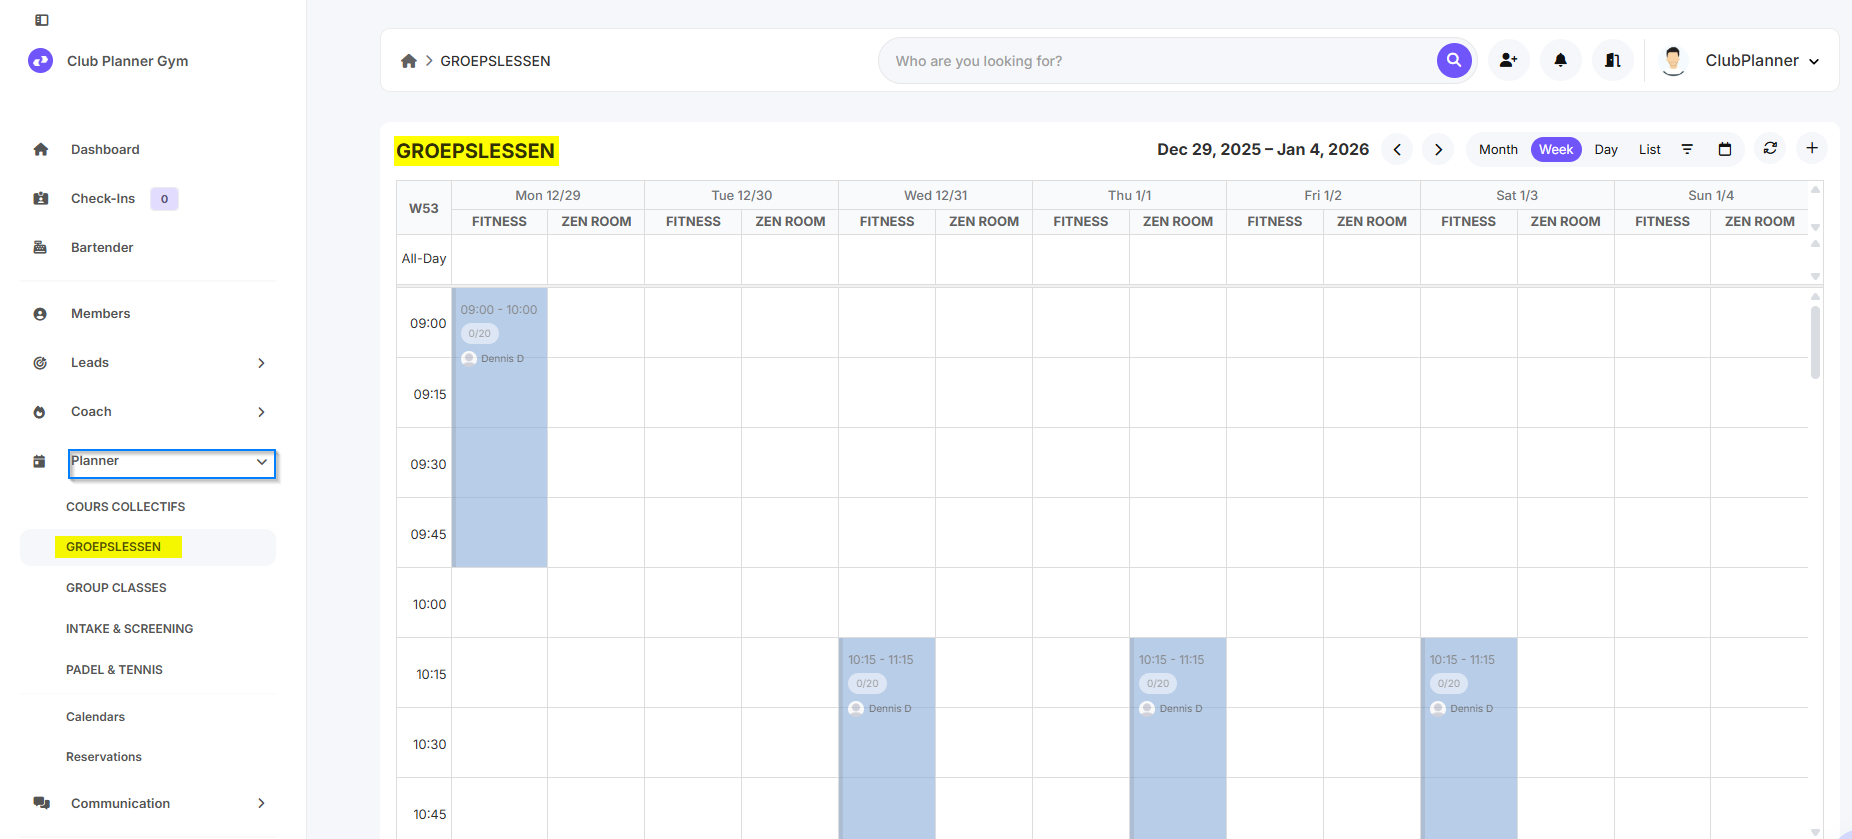
In this manual you will learn how to create a new calendar in Clubplanner.
Calendars are used for planning lessons, activities, and events within the club.
📝step-by-step guide
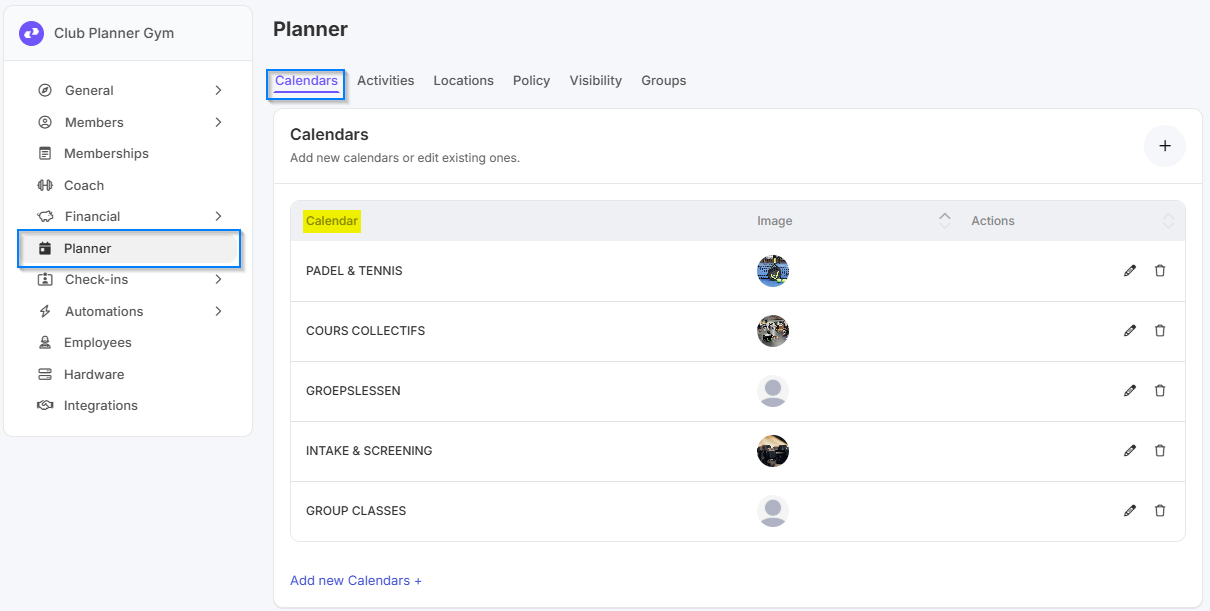
Step 1 – Go to “Settings” → “Calendars”
- In the main menu navigate to “Settings”.
- Then click on “Calendars” to manage existing calendars.
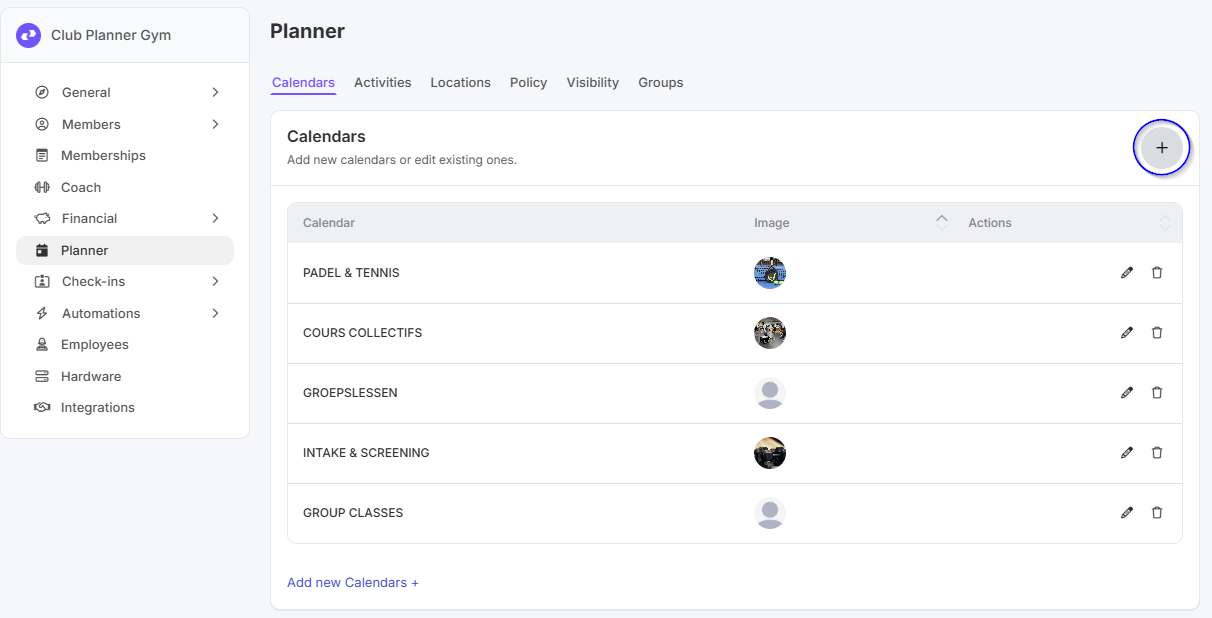
Step 2 – Click on “Add Calendar”
- Click the “Add Calendar” button to create a new calendar.
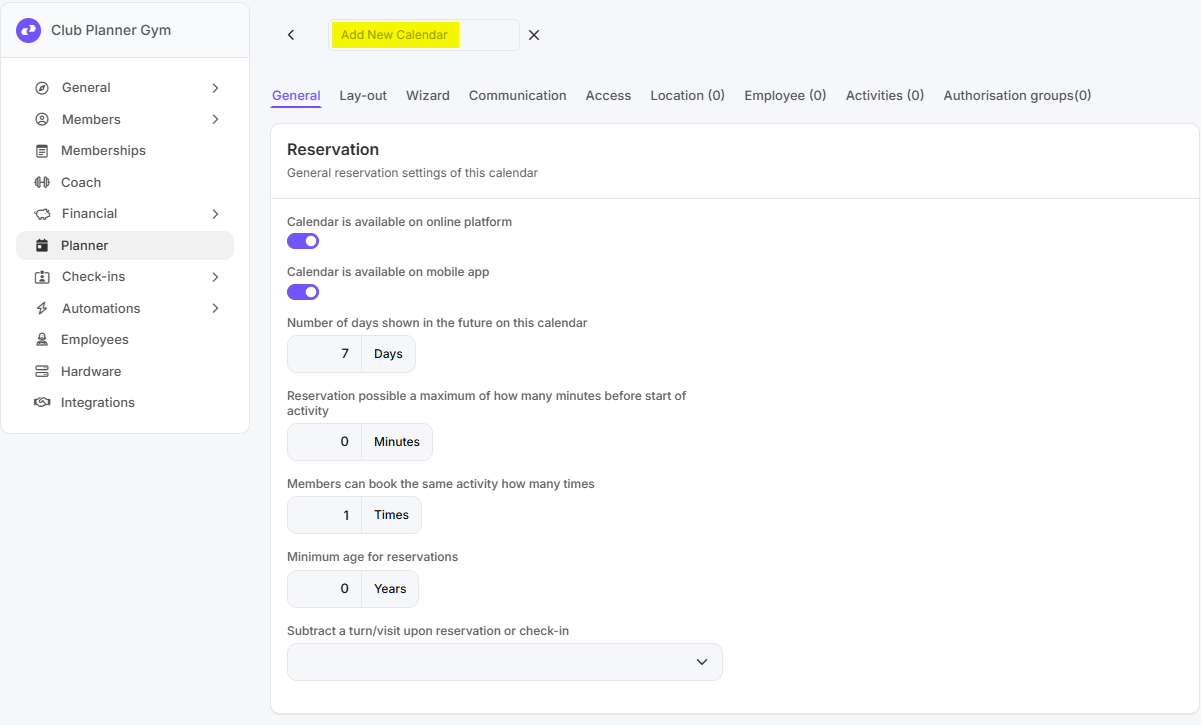
Step 3 – Enter calendar data
- Please enter the following details:
- Name of the calendar (e.g., Group Classes, Personal Training)
- Description (optional)
- Color or icon (optional, helps with visual overview)
Step 4 – Save
- Click “Save” to create the new calendar.
- The calendar now appears in the list of available calendars.
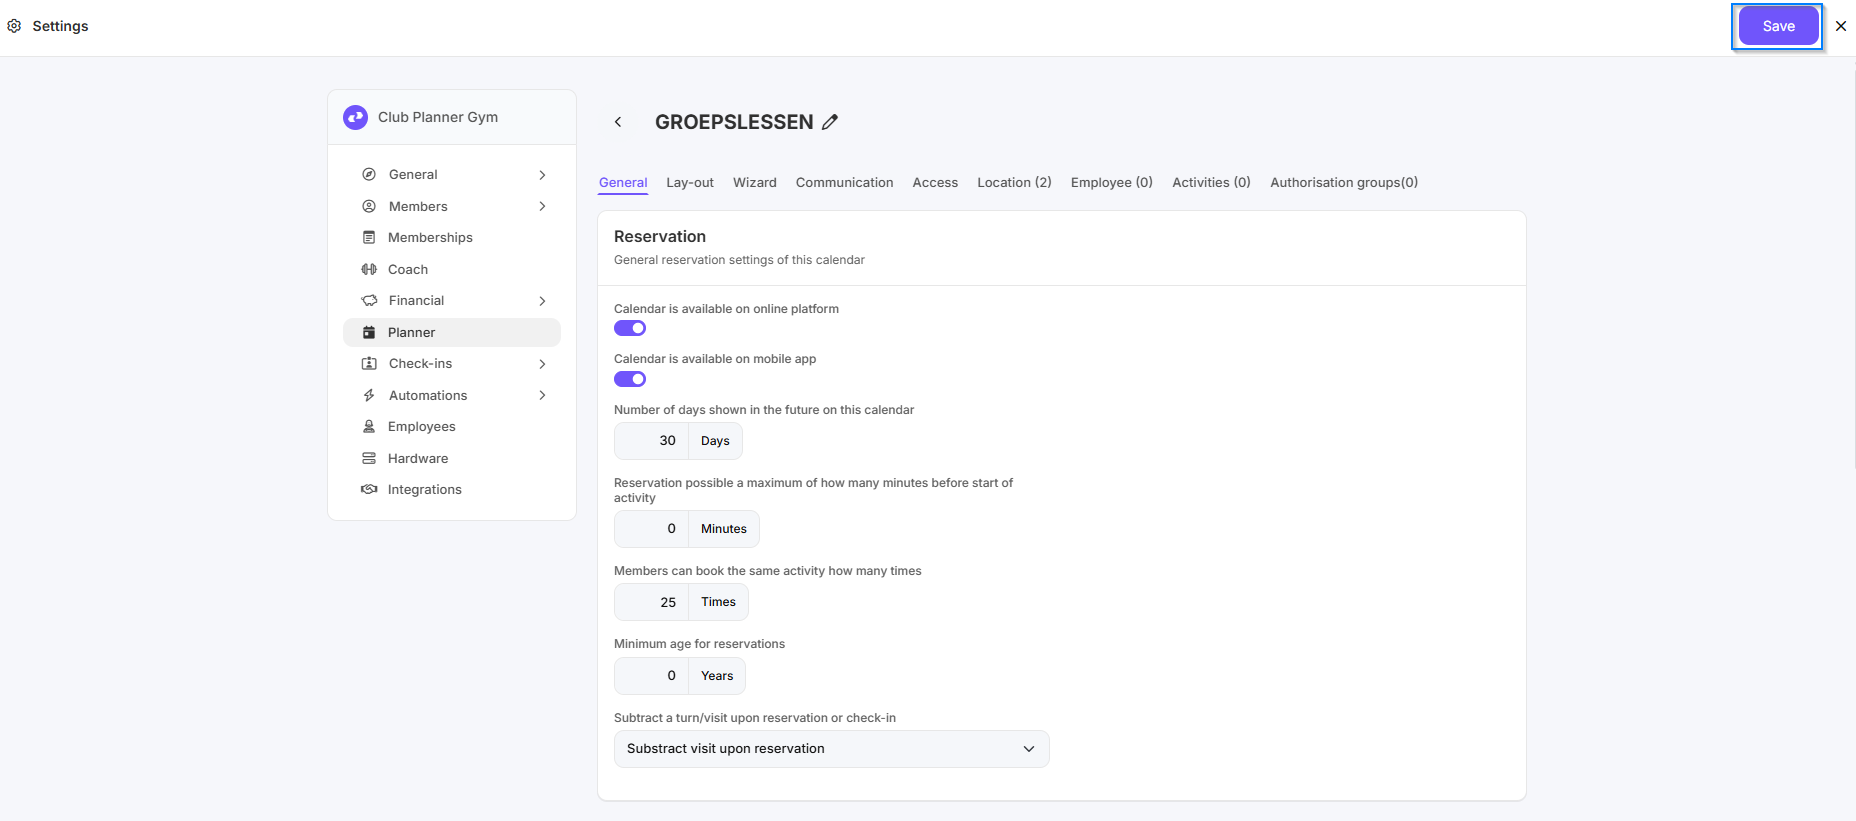
Step 5 – Control
- Check whether the new calendar is visible when scheduling lessons or activities.
- The calendar can now be used to schedule or manage activities.